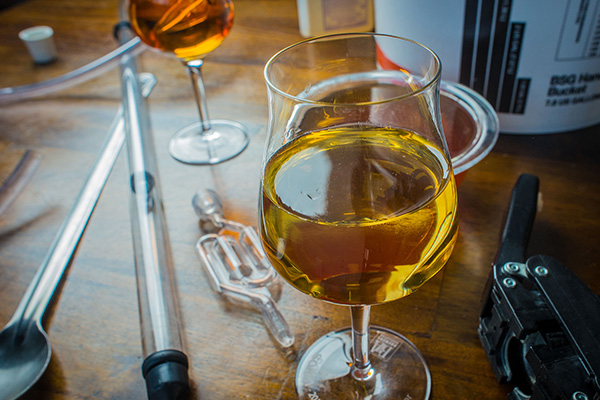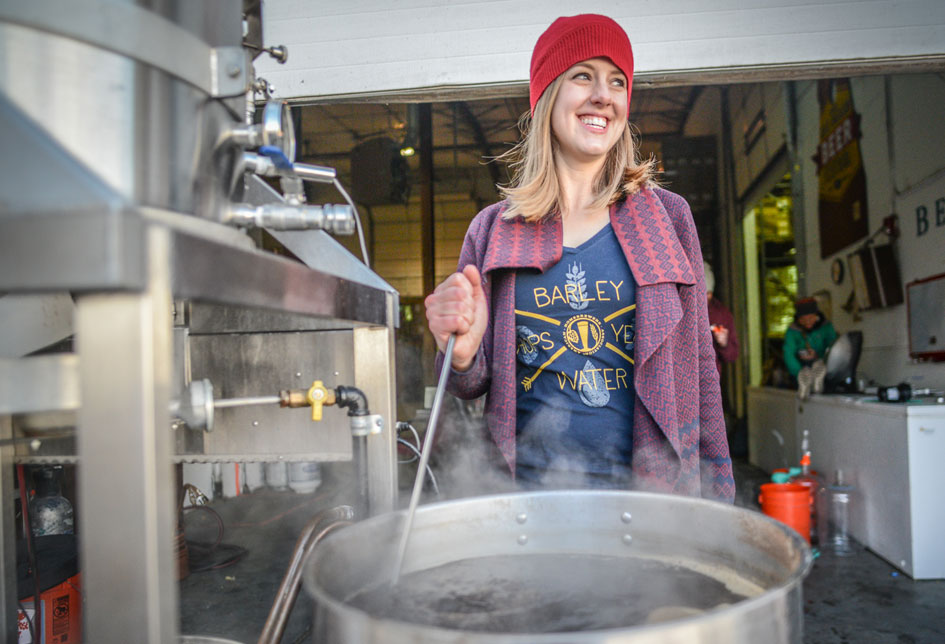
On the most basic level, it doesn’t get much easier than making mead. Simply mix honey with water in a fermenter and pitch yeast. If you stopped there, chances are you’ll have mead in a few months.
However, certain measures can be taken without too much more effort that will greatly improve your mead, and in some cases make it ready to drink shortly after it’s bottled.
Here are five tips for making better mead. Share your tips in the comments below and visit our mead making section for further resources.
1. Quality Ingredients
As with homebrewing and fine cooking, mead can only be as good as the quality of the ingredients that make up the must. In a perfect world, you’d gather honey from your backyard beehive, pull water from your well and pick fruits, spices, etc., from your garden.
We don’t all have such convenient luxuries, but that doesn’t mean quality mead ingredients are out of reach. Look for locally-sourced honey that hasn’t undergone too much processing, purchase fresh yeast from a homebrew shop, select water that is free of off-flavors and so on. The goal is to develop rich flavors and aromas, and the best way to do this is to start with high-quality ingredients.
Read on for more information on the importance of quality mead ingredients, including how to pick the perfect honey.
2. No-Heat Methods
Many mead recipes call for the honey-water mixture known as “must” to be heated as a precautionary step to avoid contamination. The downside of heating the must is losing some of the flavors and aromas of the honey, meaning they won’t shine through when the mead is ready to drink. Meadmakers caught onto this, and some started using potassium metabisulfite (sulfites) as a way to sanitize the must without heat treatment.
More recently, meadmakers have been skipping must sanitation steps all together. With ample sanitation of equipment, it’s believed that the appropriate amount of wine or brewer’s yeast being pitched into the must is more than enough to combat any contaminants that may be present in the honey, water or other ingredients.
Read on for an in depth look at various methods to treat must while making mead.
3. Monitor and Control pH
Ensuring the fermenting must is in a specific pH range can aid in optimizing conditions for yeast to conduct a quick and clean fermentation. While some experts and renowned meadmakers may recommend not to bother with pH, a few easy steps can be taken to monitor and control the pH—which has the potential to greatly benefit the final product.
Read on to learn more about the effects of pH on mead making and how to measure pH.
4. Cool Fermentation
While many yeast strains used in mead making have tolerable fermentation temperatures reaching into the 80s °F, cooler fermentation temperatures are recommended to preserve the flavor and aromas of the honey and other ingredients and reduce the prominence of alcohol-based off flavors.
Try to maintain fermentation temperatures at the lower end of the yeast’s temperature tolerance, or even a few degrees below it. This will promote a less vigorous fermentation that won’t blow off as much flavor and aroma, making for a tastier mead.
Read on for more information on fermenting mead at cool temperatures.
5. Backsweetening
Depending on the amount of fermentables used and the type of yeast pitched, you may end up with a very dry mead. That’s perfectly fine, unless the hope was for a mead with more residual sweetness.
A technique known as backsweetening can be used to add more sugar, usually honey, to mead to increase the final gravity and ultimately make a sweeter mead. The tricky part is ensuring the yeast won’t continue to consume the sugar, which would make for an even stronger, dry mead then you had to begin with.
Read on for instructions on how to properly backsweeten mead.
Stay tuned for a post later in the week discussing staggered nutrient additions (update: see article Improve Your Mead with Staggered Nutrient Additions)


Share Post