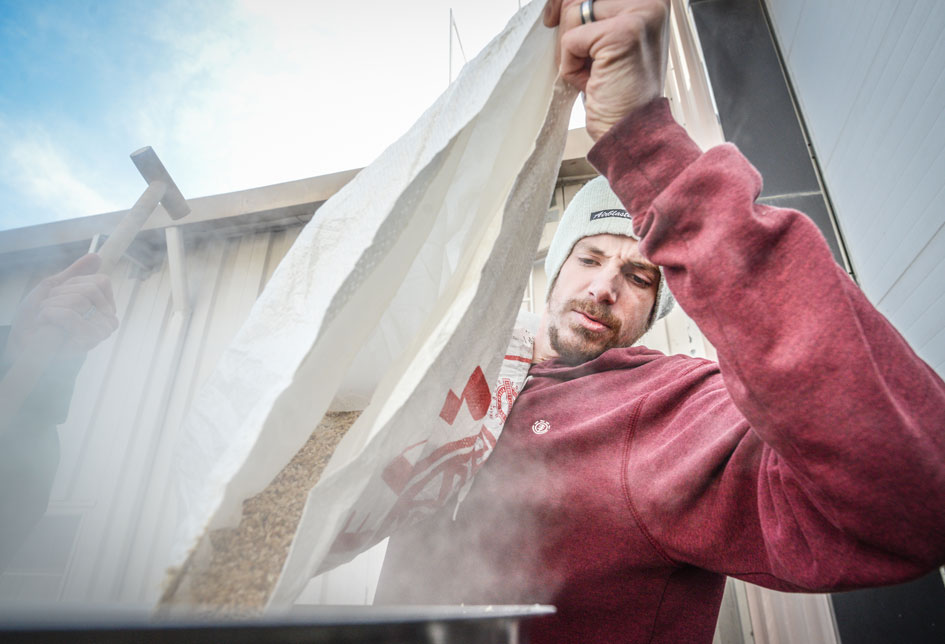
Are you overcome with brewing enthusiasm and bursting at the seams to spread the joy of homebrewing? Why not teach a local homebrewing class? Teaching a homebrew class can be fun, rewarding, and educational for yourself and your students. Making up a batch of your favorite brew and sharing it with a group of equally interested people is what homebrewing is all about. The pleasure of turning someone on to beer is gratifying, and you will likely find yourself becoming a better brewer, with new friends and new members for your club.
The key to a successful class is advance preparation. If you are a retailer, you will no doubt have all of the necessary products readily available. If not, then be prepared to direct the class members to whatever sources you use and can recommend. You may even consider creating a package/discount deal with local shops for your class members (e.g., kit, Zymurgy, book, bumper sticker, and coupon). Arrange with the retailer to have stock on hand.
Getting Started
How you get the word out depends on your community. The many institutions that will consider including your course with their offerings include community colleges, adult education centers, alternative educational networks, YMCAs, and parks and recreation departments. Many will integrate your class into their program, help you promote your class, and possibly provide the facilities. If you are not able to plug into an existing system, then set up a class on your own! Start with a kitchen or an outdoor burner, water, and a table or counter. Your own kitchen or local homebrew shop would probably be a fine location provided enough people can fit into the space comfortably. Be sure to visit the AHA’s page on homebrewing statutes & limitations by state to verify the legality of brewing a batch of homebrew in a public venue.
Whether you work with an institution or go it alone, you will have to promote the class. Flyers, posters, and bulletin boards at liquor stores and supermarkets are good bets to generate interest. Try to get your homebrew supply shop involved, and use their mailing list if available. However, don’t limit yourself or your class to the obvious target group. Since the goal is to increase the number of brewers and volume of brewing, take this opportunity to branch out into new groups. Gourmet cooks and winemakers are good possibilities and can easily be reached through your newspaper’s local activities section and/or the around-town section on the local radio station. If there is a local interest talk show, promotions there are even better.
In your promotional pieces you will want to briefly explain all of the different styles of beer that can be brewed (pique their interest), followed by an explanation of what will be done in the class: tastings, brewing demonstrations, talks, access to resources, and so on. Introduce yourself, provide a brief synopsis of your background, and explain why you are the ideal person to teach this class. Add a bring-a-friend graduation party for an additional selling point and finish with specifics: where, when, how long, how much, and how many.
Physical space will limit the number of students. A dozen is a good class size for giving individual attention and getting everyone involved. Make an estimate of what it will cost to provide all of the materials and supporting information and calculate a per-student cost: a reasonable estimate is between $20 and $35. Keep your classes short and simple enough for good brewing and experimentation. The class should run no longer than five weeks, with one to three hours scheduled per week.
The best class format includes hands-on experience. Brew in four out of five classes and bottle at least once. Provide a nice variety of brews for sampling, keeping in mind that the goal isn’t just to teach the basics of homebrewing, but to get students interested enough to continue after the class is over. When figuring out how much beer you will need per class per student for tastings, remember that you are promoting beer appreciation and responsible consumption—beer is a tasting thing, not a drunken thing. Provide details on the procedures and ingredients used in the homebrews you use for tastings and discussions.
The course outline that follows assumes weekly classes and suggests format and topics.
The First Class
Introduce everyone to homebrew by teaching them how to pour bottle-conditioned beer. While you are doing this, introduce yourself and have each student do the same. Once everyone is sitting and sipping, tell them what they can expect from the class: what it costs, what they will do, what they will learn, and what they will be able to do when they have completed the course. Tell the class they will be brewing immediately.
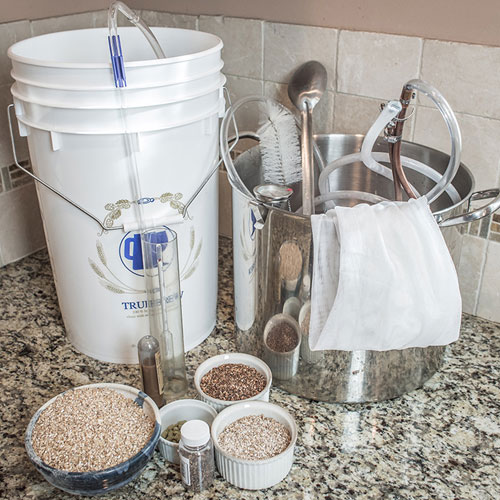
The first meeting should cover a lot of ground but avoid getting bogged down by needless detail—the details will come later in the brewing process. Describe the basic ingredients and how they interact with and affect the beer. Equipment is also a natural topic for this first class. Between ingredients and equipment, you can offer a good overview of the brewing process, allowing the class to know what to expect from this experience.
Then take a homebrew break.
The next part of class takes place in the kitchen and offers students the chance to brew up a simple batch. It is advisable to divide the discussion and hands-on components into separate sections of class because students are less likely to concentrate on what you are saying when they see the bubbling, churning pot of boiling wort for the first time. For your first batch, use a malt extract that requires the addition of hops: a quick ale recipe is best so you can bottle it in two weeks.
Finish up the class by sparging into the fermenter and pitching the yeast. By now everyone has had the opportunity to taste several different types of beer. Encourage the students to talk about the differences. While you are completing the sparge, organize a clean-up crew. This is an important part of brewing and integral to maintaining your sanity.
Remember: Don’t try to overwhelm the class with everything you know. Be patient. Plan each class.
The Second Class
Begin the class with a round of homebrew. Try to encourage comments about the aroma, mouthfeel, color, and head of the beer. Point out a few more obvious characteristics to help students further their appreciation of beer.
There are two parts to this class: more detailed information about the ingredients in beer and more sophisticated descriptions of brewing techniques. Again, it is a good idea to separate the talk and the brewing.
Present the basic elements of beer and go into some depth for each of them:
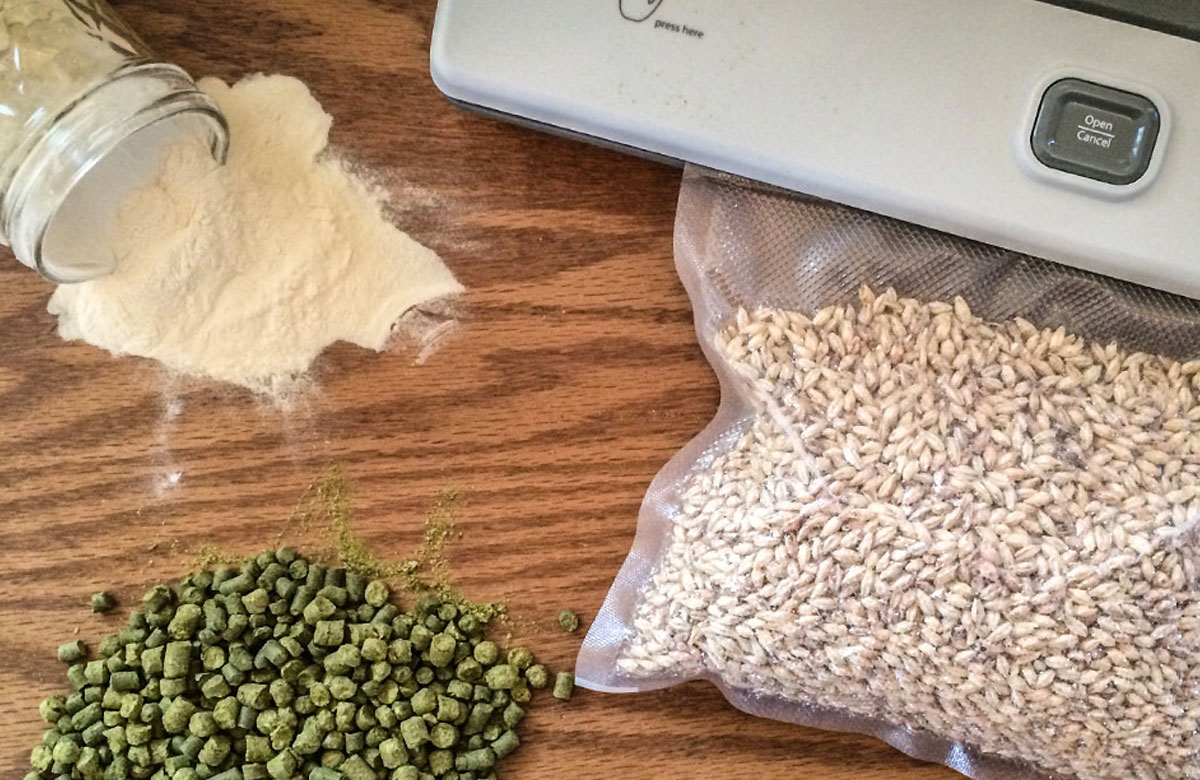
- Hops: Hops may be one of the most interesting subjects for the beginning brewer. Using various samples discuss the flavor and aromatic value of hops for beer. Describe how hops are affected by boiling, and then progress to finishing and dry-hopping. Additional topics include various alternatives in packaging, advantages and disadvantages of the varieties of hops, and their uses in specific styles of beer.
- Yeast: After their first homebrew, students should be somewhat familiar with yeast. An examination of the technical aspects of yeast metabolism (respiration and fermentation cycles) will provide clarification. Discuss how temperature affects fermentation, and explain differences between ale and lager yeasts.
- Malt and malt extract: Present a detailed discussion on malt, explaining various extracts and how they contribute different characteristics to beer. Cover specialty grains and their uses.
- Water: Discuss how water affects beer by explaining that various minerals are found naturally in brewing water around the world. Discuss how hard and soft water affect the taste of beer.
As you take a break to pour another variety of homebrew for your students, initiate a discussion on the various styles of homebrew: pale ale, stout, bock, and mead, for example.
Follow the same brewing procedures as the first class, but add specialty grains with an explanation of their use (demonstrate the cracking of grains).
The Third Class
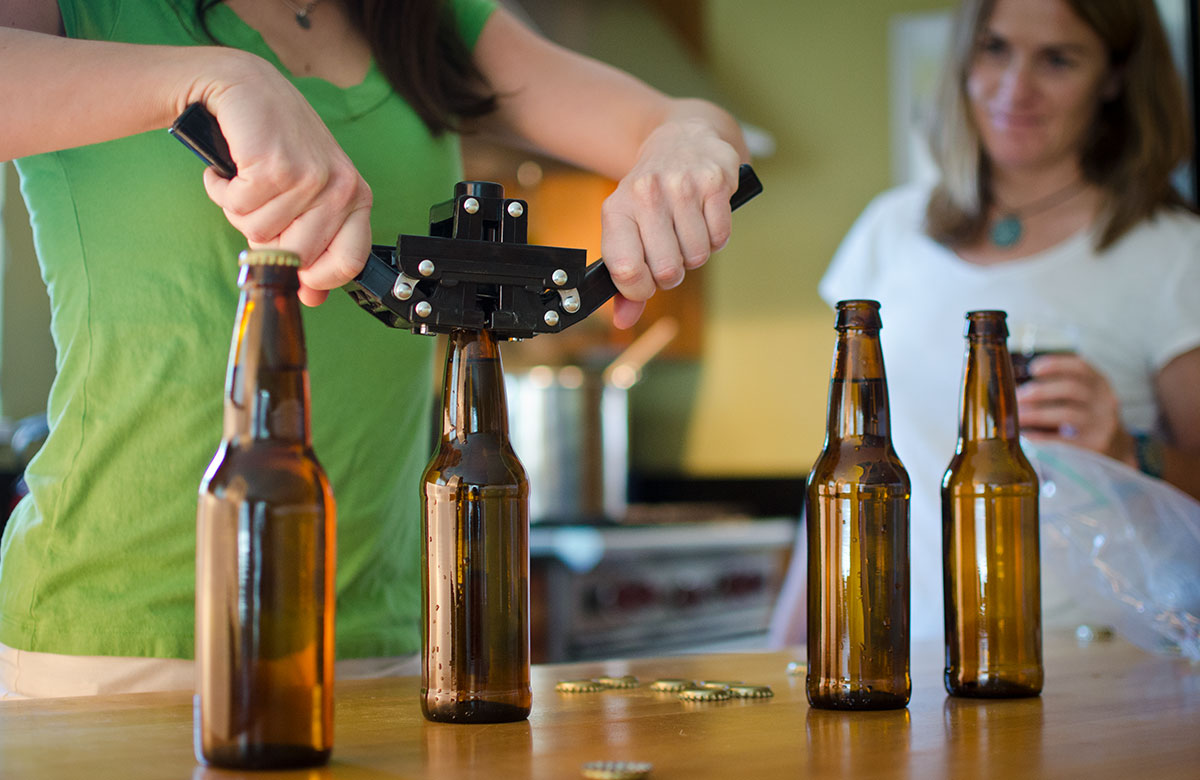
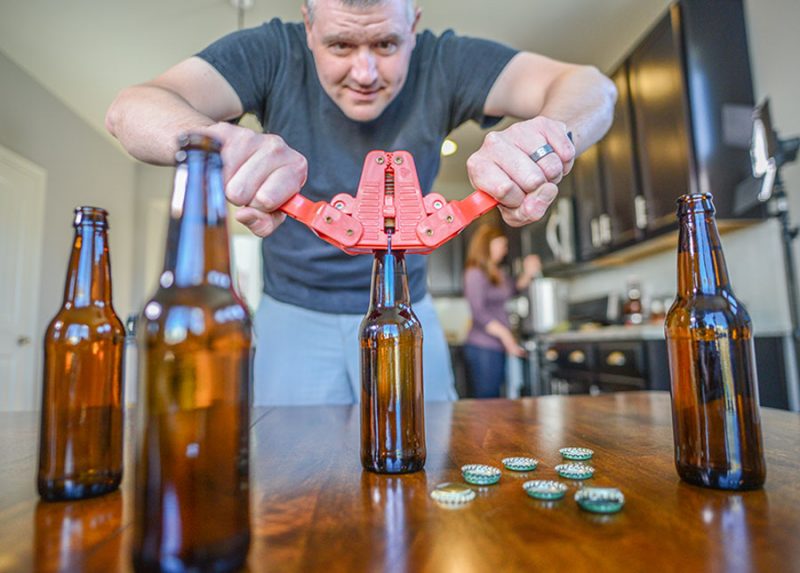
This is the perfect time for a hands-on class; get everyone involved. Bottle the five gallons of beer brewed in the first class. Give everyone an opportunity to use the siphon and bottle capper, and be sure they all get a taste of the fermented, un-carbonated beer. Spend some time and emphasize very clearly the concept of priming with corn sugar.
Now for some real fun, kick back and brew your favorite beer. Talk to students about why you like this particular brew and what you do to tailor it to your liking.
The Fourth Class
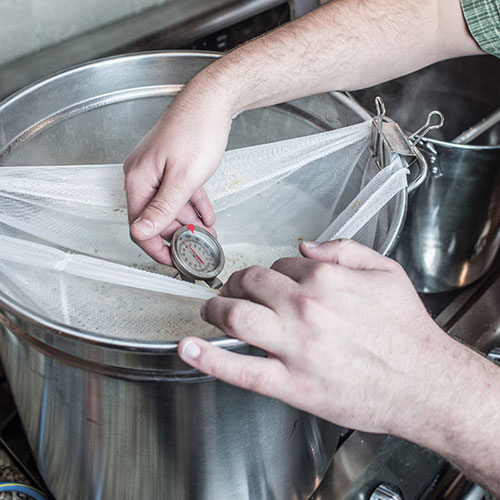
Give a sample mashing demonstration combining malt extracts and grain. Mash two to four pounds of grain and combine the sweet liquor with three to five pounds of malt extract. Take the time to discuss the conversion of starches to sugars by enzyme activity. We recommend that your mashing demonstration cover the following:
- How grains are crushed
- The extent to which grains are crushed
- Iodine starch test
- Sparging equipment and procedures
Attempt an all-grain mash only if you have sufficient time. The critical difference is that the whole wort must be boiled and then cooled as quickly as possible. Discuss the various cooling techniques.
Pour a homebrew and make plans for the final class. Now may be a good time to discuss the interaction between the style of beer and the menu.
The Fifth Class
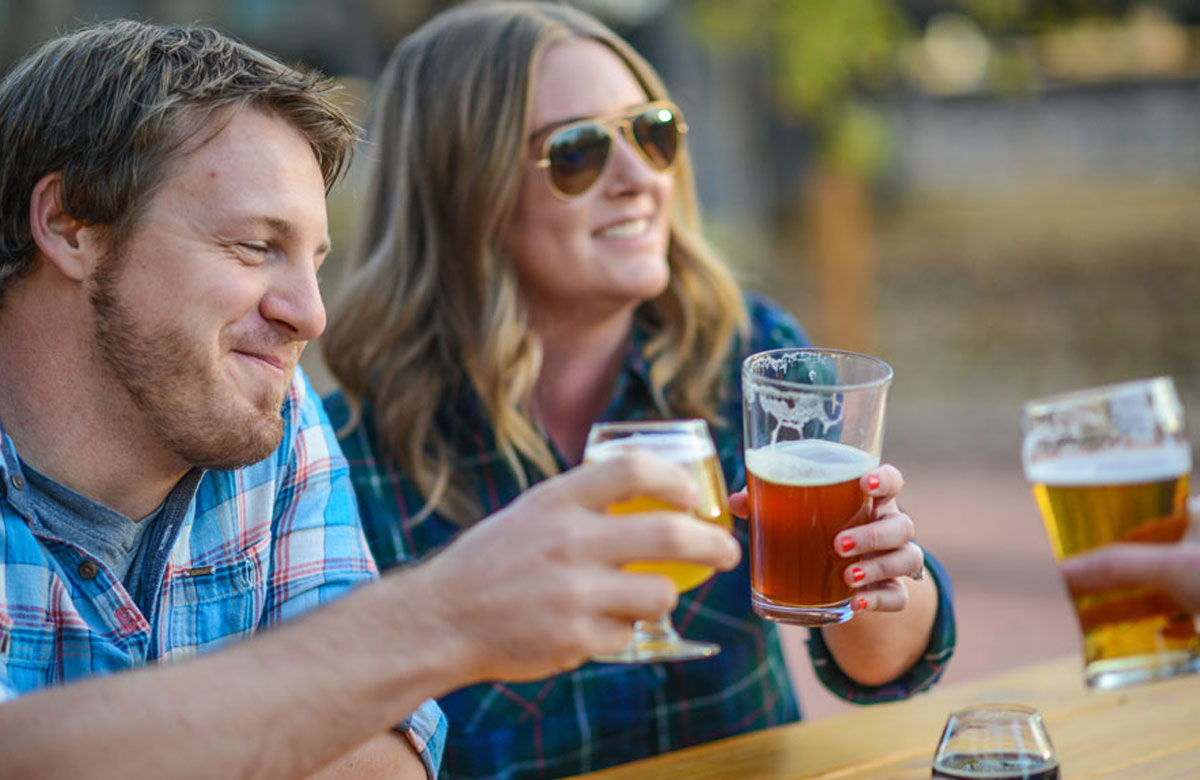
Be creative with the final class. Some ideas follow:
Host a sit-down dinner. If everyone chips in, you should have no problem developing a great menu. Have everyone commit to a specific side dish; you provide the atmosphere and the organization. Invite former graduates and encourage everyone to bring a friend (get reservations and payment in advance).
Organize a blind brew tasting. Gather a variety of eight to fifteen homebrews, commercial craft beers, and imports. Get enough for each student to try two to three ounces of each. Have a couple of helpers to serve the beer in pitchers. Be sure to have plenty of glasses on hand, as well as some French bread or crackers to cleanse the palate.
There are many ways of organizing a homebrewing class. Some might even be one lesson, or some might stretch into more immersive subjects. This suggested itinerary is intended to get you thinking about all of the ways that you can create an approachable platform to introduce new people into the hobby, and keep them interested at the same time.
Relax. Don’t worry. Have a homebrew!


Share Post