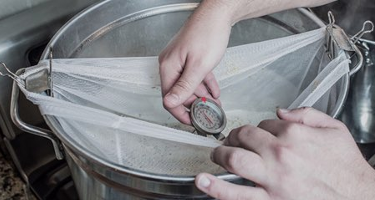
In this homebrewing tutorial we teach you how to make beer at home using the all-grain “brew in a bag” (BIAB) technique. This method allows the homebrewer to conduct the all-grain mashing process with minimal equipment compared to fly- and batch-sparging homebrewing techniques. Brew in a bag homebrewing is perfect for the homebrewer who wants the control of all-grain brewing, but has space, time, or budget limitations. For more in depth information on making beer at home, grab a copy of How To Brew: Everything You Need to Know to Brew Great Beer Every Time (Fourth Edition) by John Palmer.
Review
Read through the homebrew recipe and steps of the brewing process entirely before starting your all-grain brew day to ensure maximum efficiency.This tutorial will walk you through the entire brewing process for Ruabeoir, an Irish red ale. The same steps can be applied to most all-grain recipes, although instructions for other beer styles and fermentation and packaging processes will vary.
Gather supplies
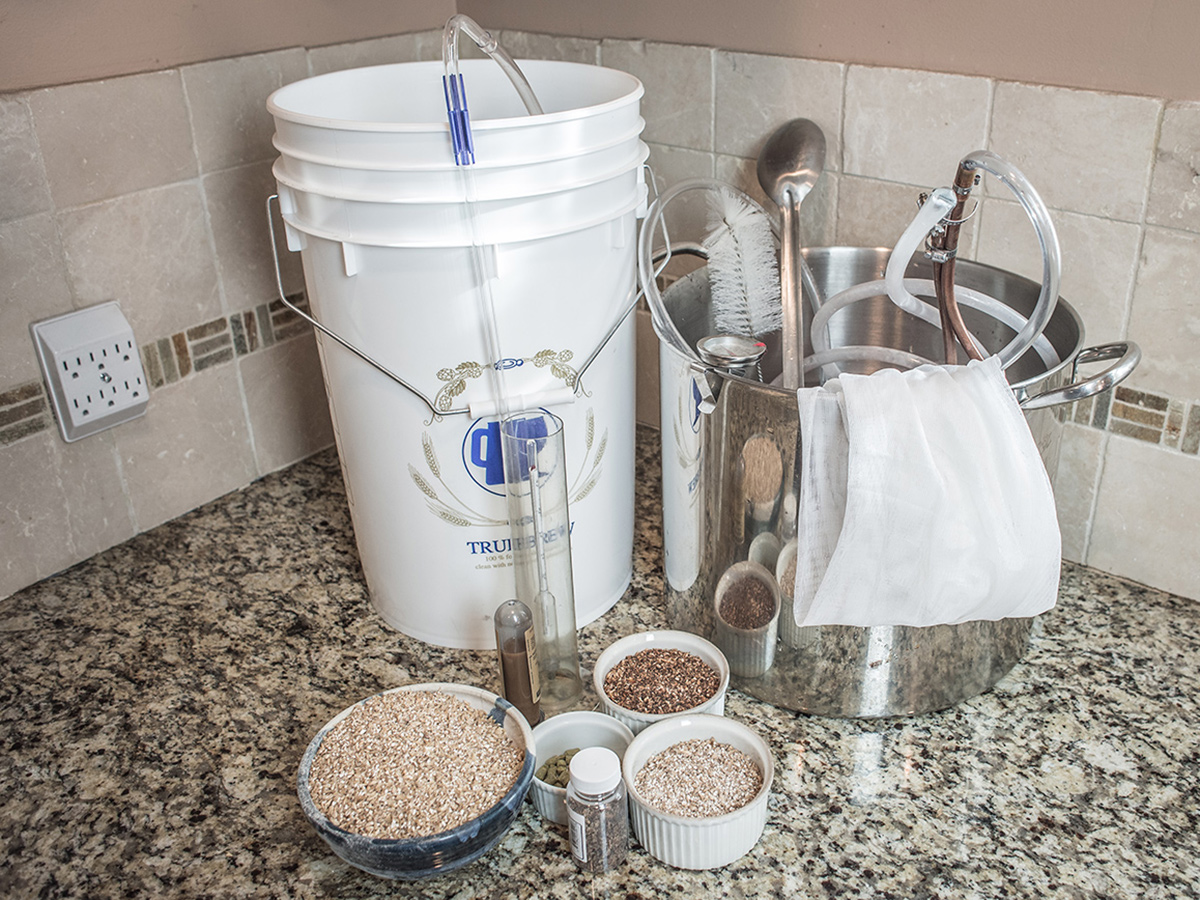
Ensure you have all the brewing equipment and beer ingredients necessary to brew. You will need:
- Fermenter and airlock
- Boil pot
- BIAB bag
- Spoon
- thermometer
- cleaner and sanitizer
- Hydrometer
- Wort Chiller (optional)
- Bottling/Kegging equipment
Clean equipment
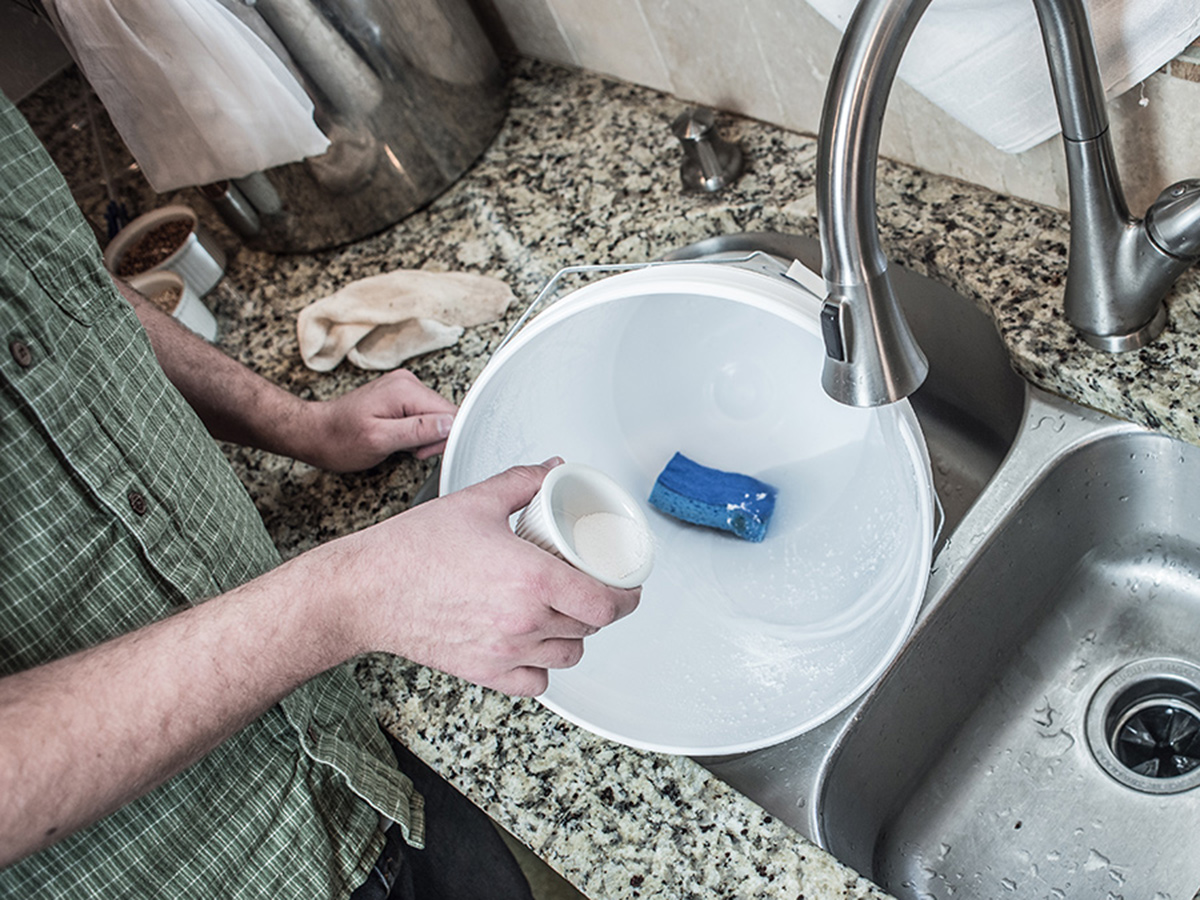
Using unscented cleanser, thoroughly clean all brewing equipment.Debris on equipment can harbor microorganisms that can spoil a batch of beer, even with proper sanitization.
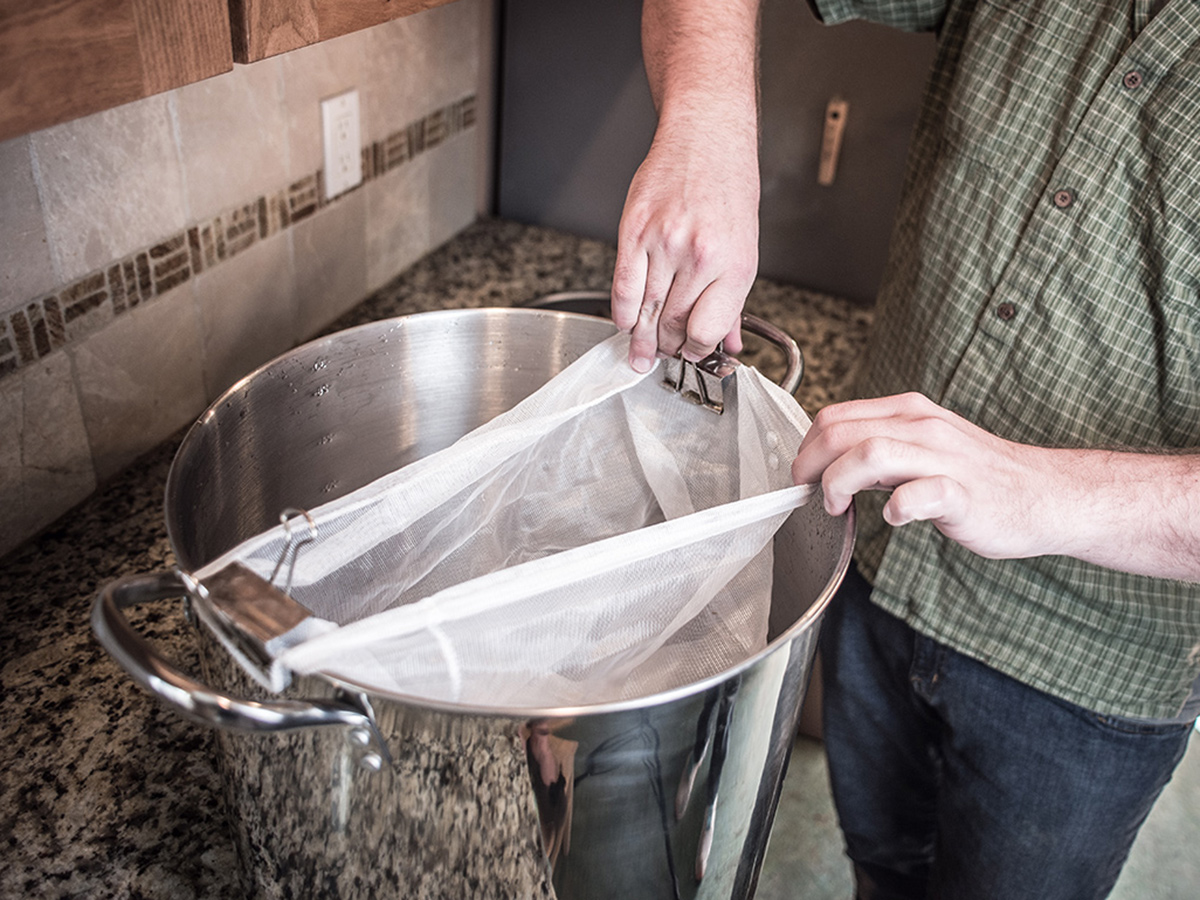
Secure grain bag
If possible, drape your grain bag over the rim of the boil kettle. A bungee cord or clamps can be used to secure the bag.Ensure that the bag will not come un-secured once the grains have been added.
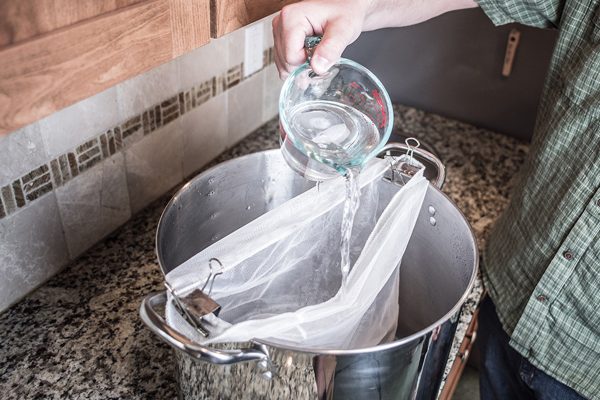
Add strike water
Add enough strike water to reach your pre-boil volume after the mash, without an additional sparge step.For this recipe, we will assume 8.5 gal (32.2 L) are needed to produce 7-gallons of pre-boil wort. This amount will vary depending on grain absorption and boil off rate.
Note: If your kettle is not big enough for no-sparge mashing, or you’d prefer to add a sparge step, review the AHA’s Guide to Brew in a Bag (BIAB) for details.
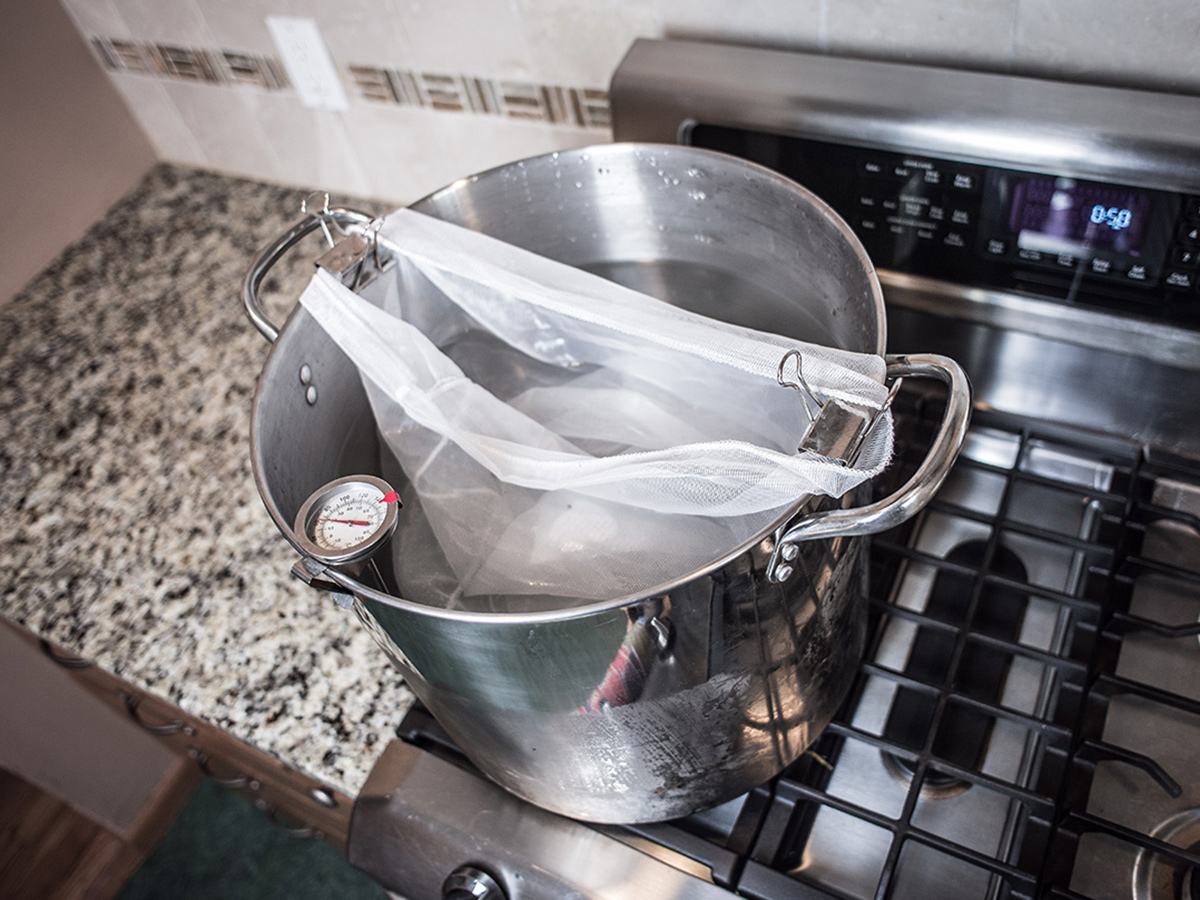
Heat strike water
Heat the strike water to 160-164°F (71.1-73.3°C).When the grains are added, the water temperature typically drops 8-12°F, which will bring the mash down to the target mash temperature of 152°F (66.7°C).
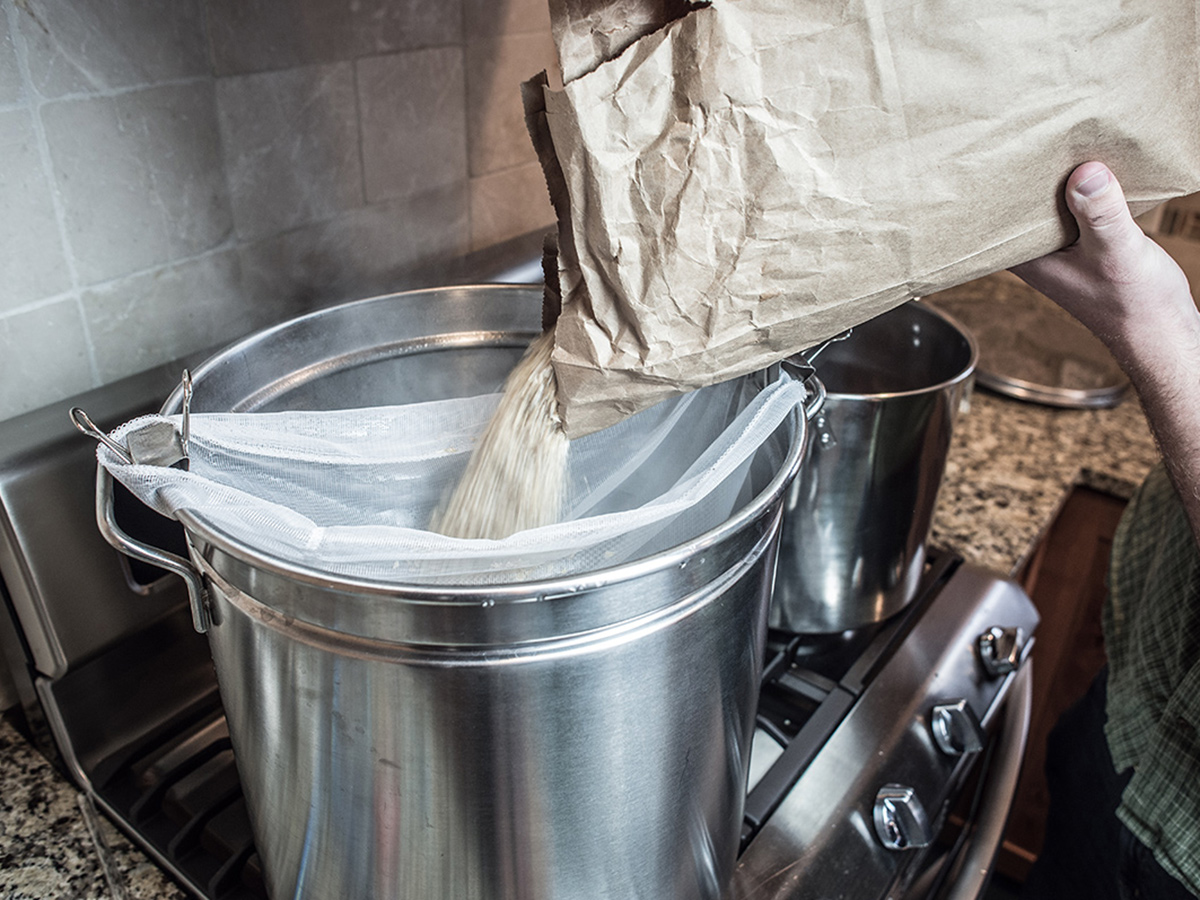
Add grains
Once you have hit the target strike water temperature, gradually stir the grains into the secured grain bag, ensuring the grains are fully saturated.The process of adding the grains to the strike water is known as mashing in.
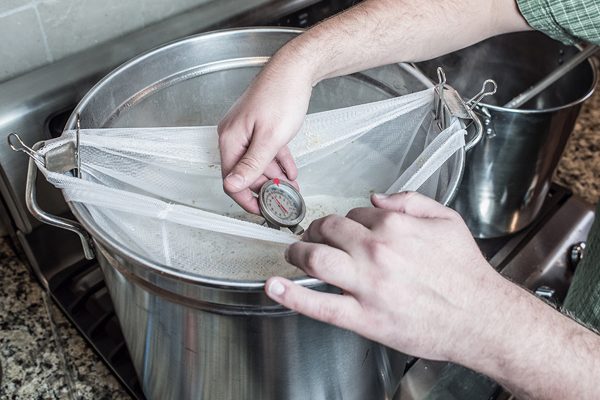
Reach target temperature
Adding grains to strike water typically causes the temperature of the strike water to drop 8-12°F.The target mash temperature for this recipe is 152°F (66.7°C).
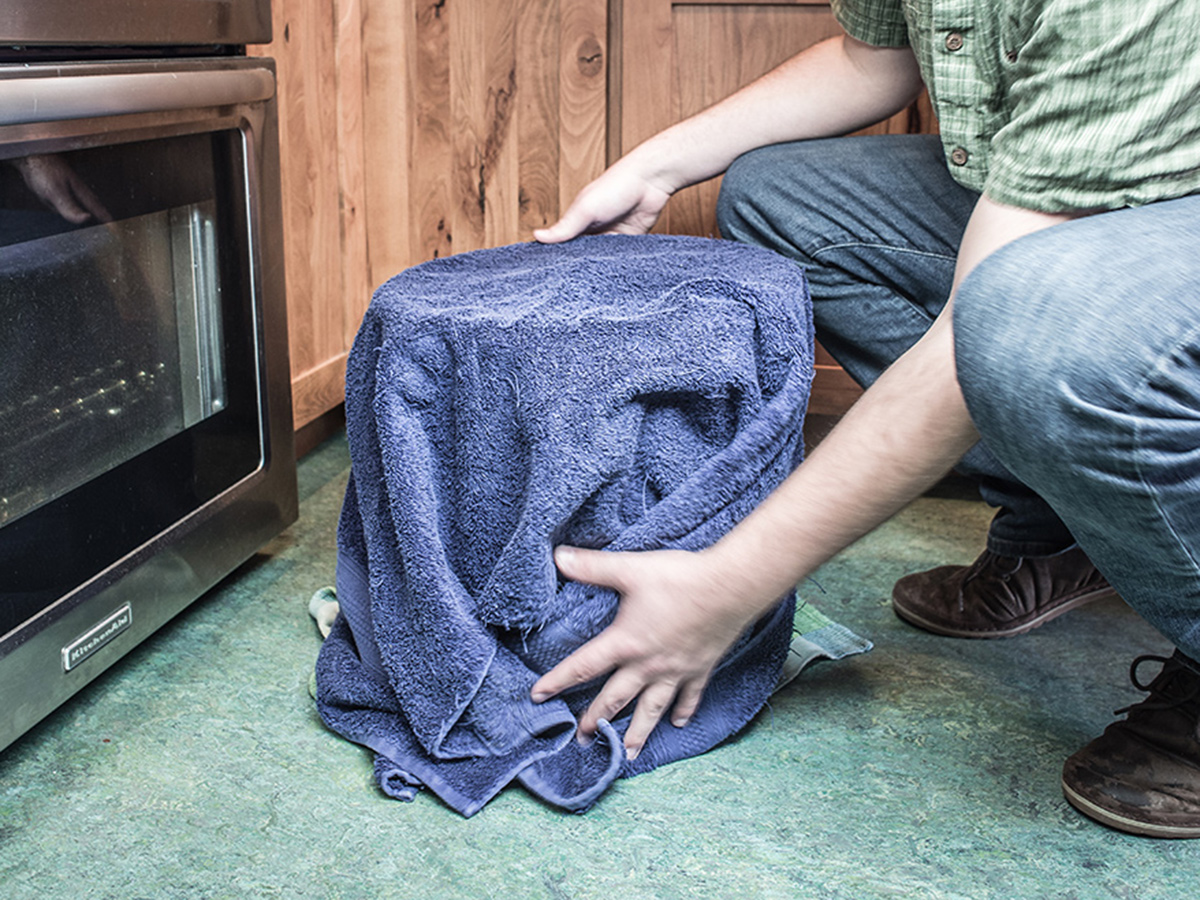
Hold mash
Cover the pot and allow the mash to sit at the target temperature for 60 minutes.Avoid opening the pot, which will allow heat to escape and ultimately drop the temperature of the mash.
Insulating the pot with a blanket or towel can help retain heat, but do be careful of this technique around your heat source.
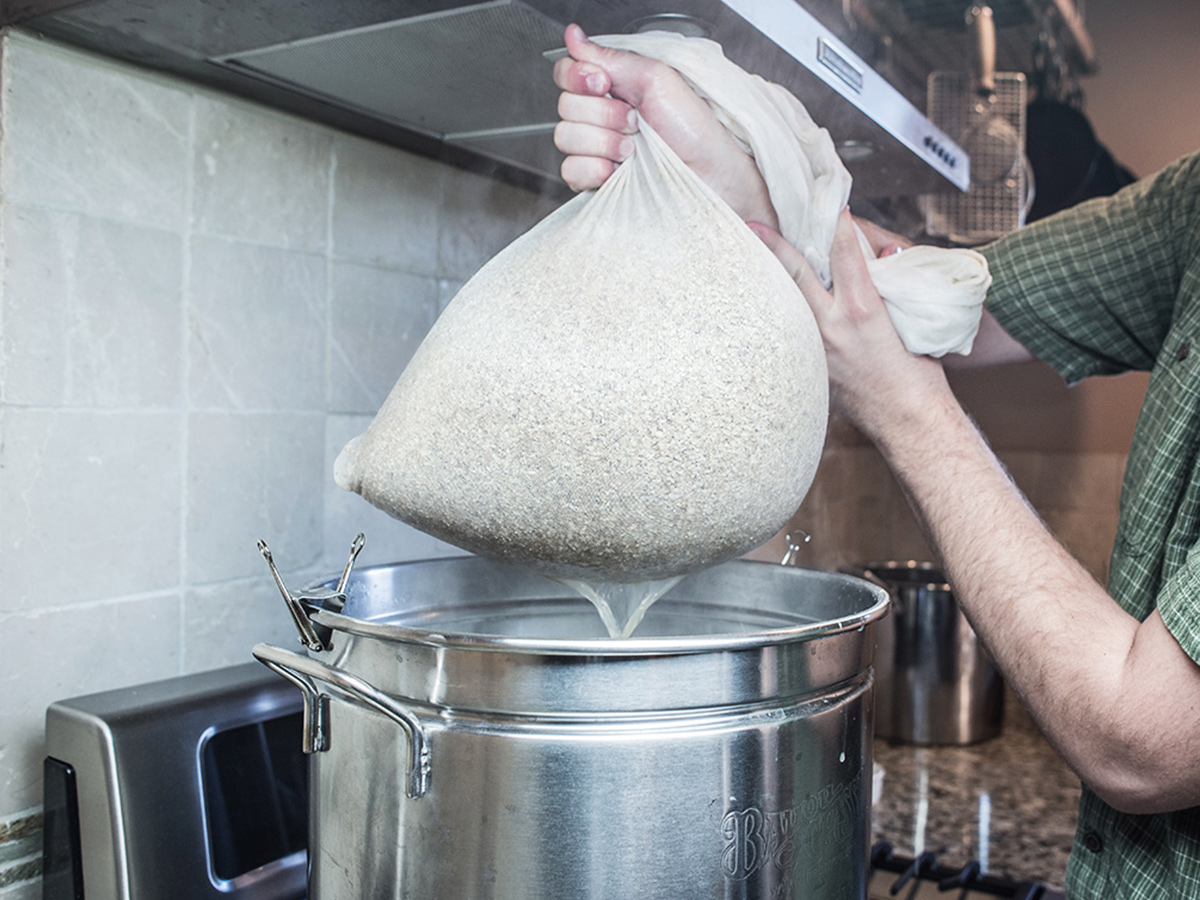
Remove grains
After the 60 minute mash is complete, carefully remove the grain bag, ensuring none of the grains escape.Allow the bag to drip dry, but do not squeeze! You should have the 7 gallon pre-boil volume. If not, extra water can be added, or the boil can be lengthened to compensate.
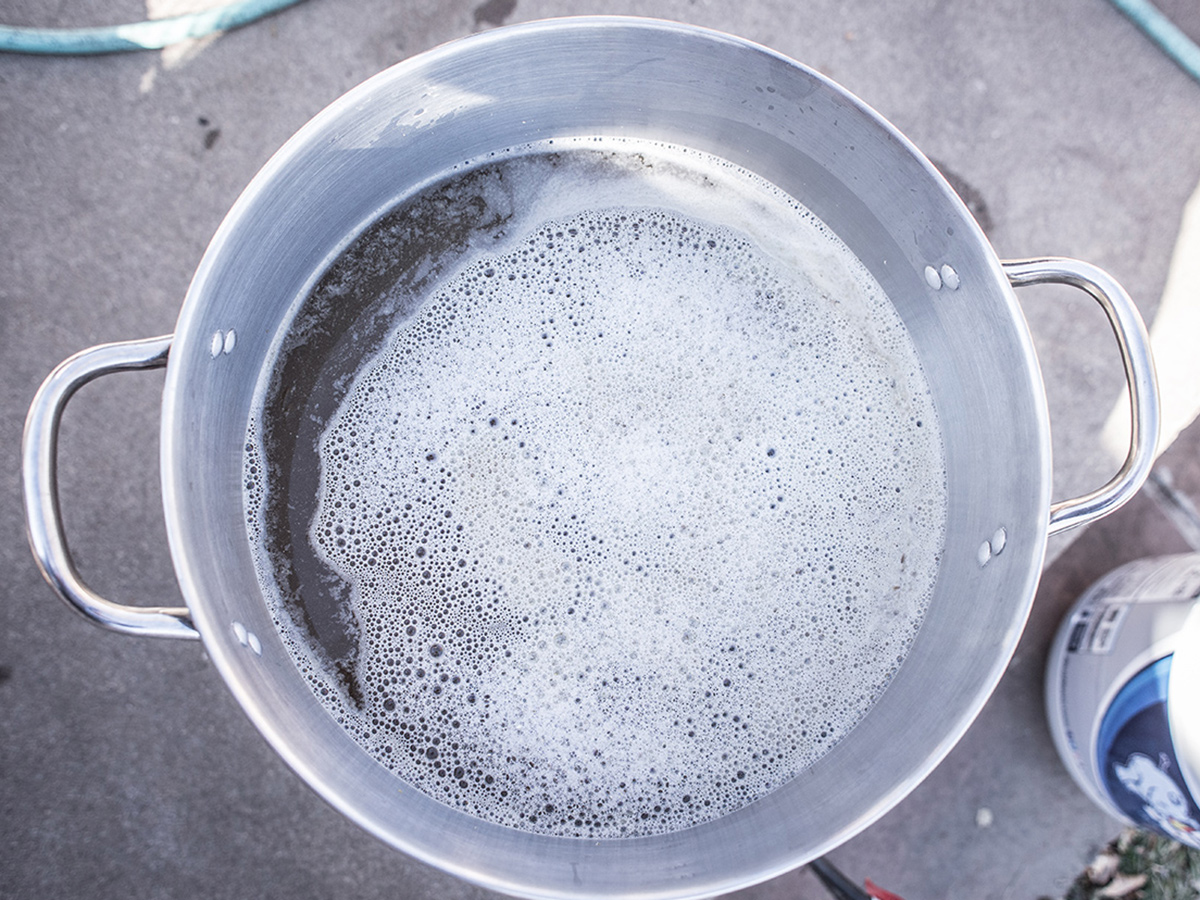
Bring to boil
In your boil pot, bring the wort to a rolling a boil.When conducting full boils, you may need a more powerful heat source such as an outdoor propane burner.
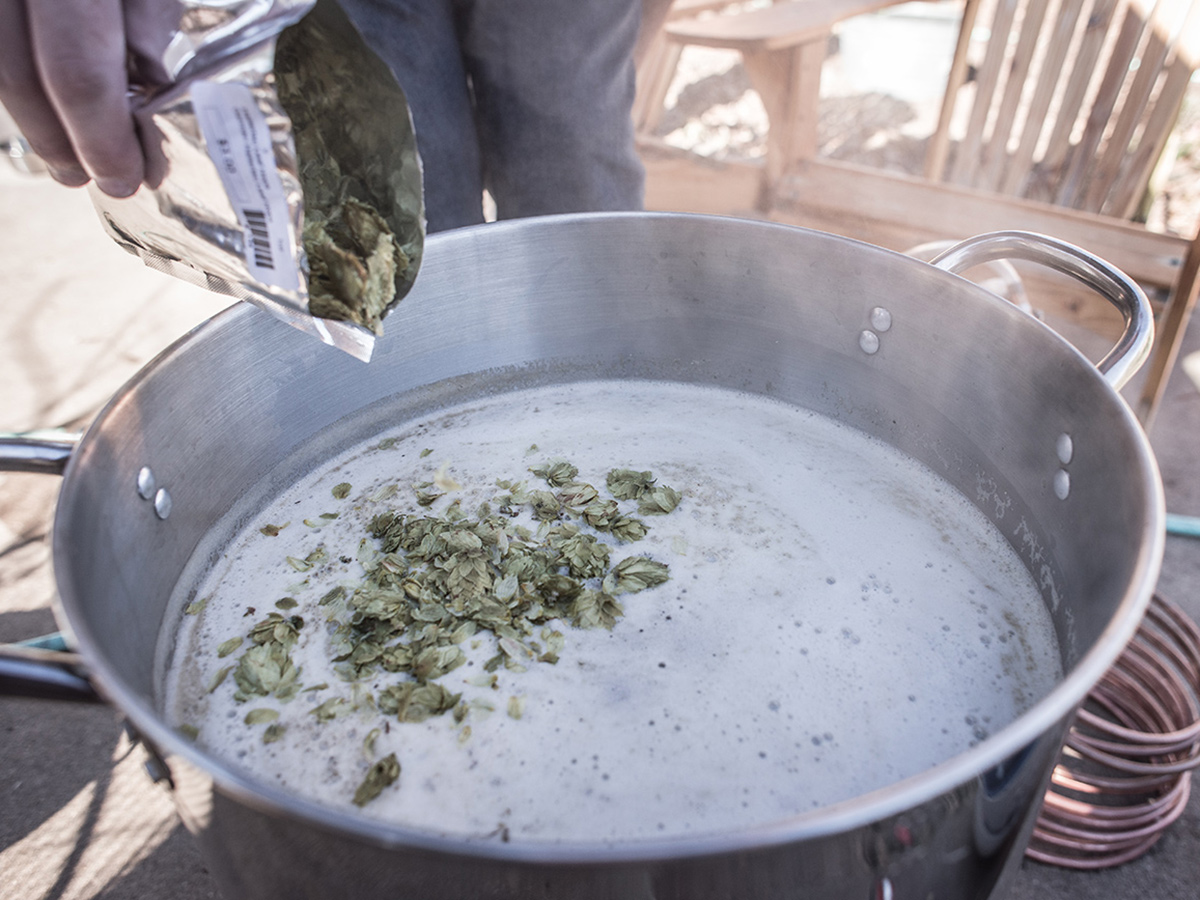
Add hops
As soon as the wort reaches a rolling boil, add the 60 minute hop addition.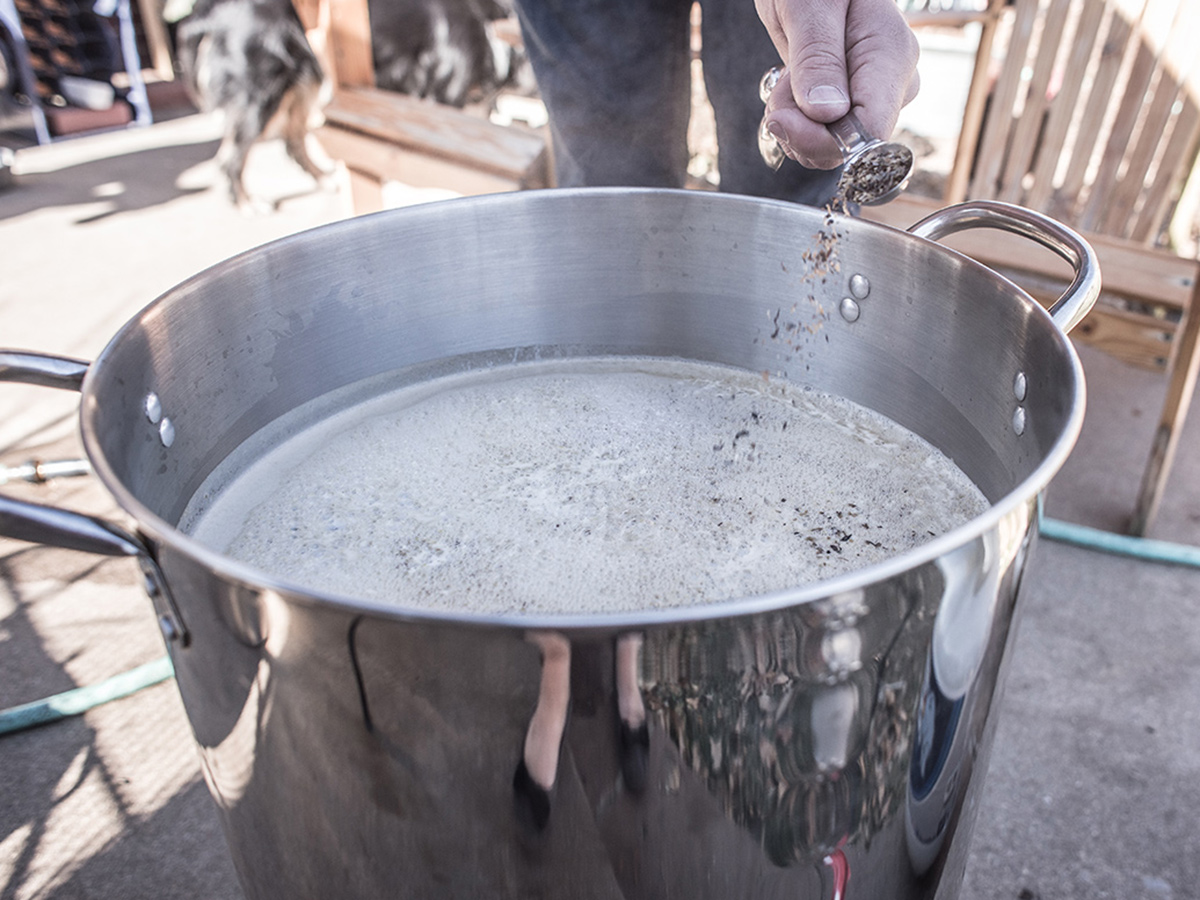
Add Irish moss
45 minutes after the hop addition, add the amount of Irish moss called for by the product’s instructions.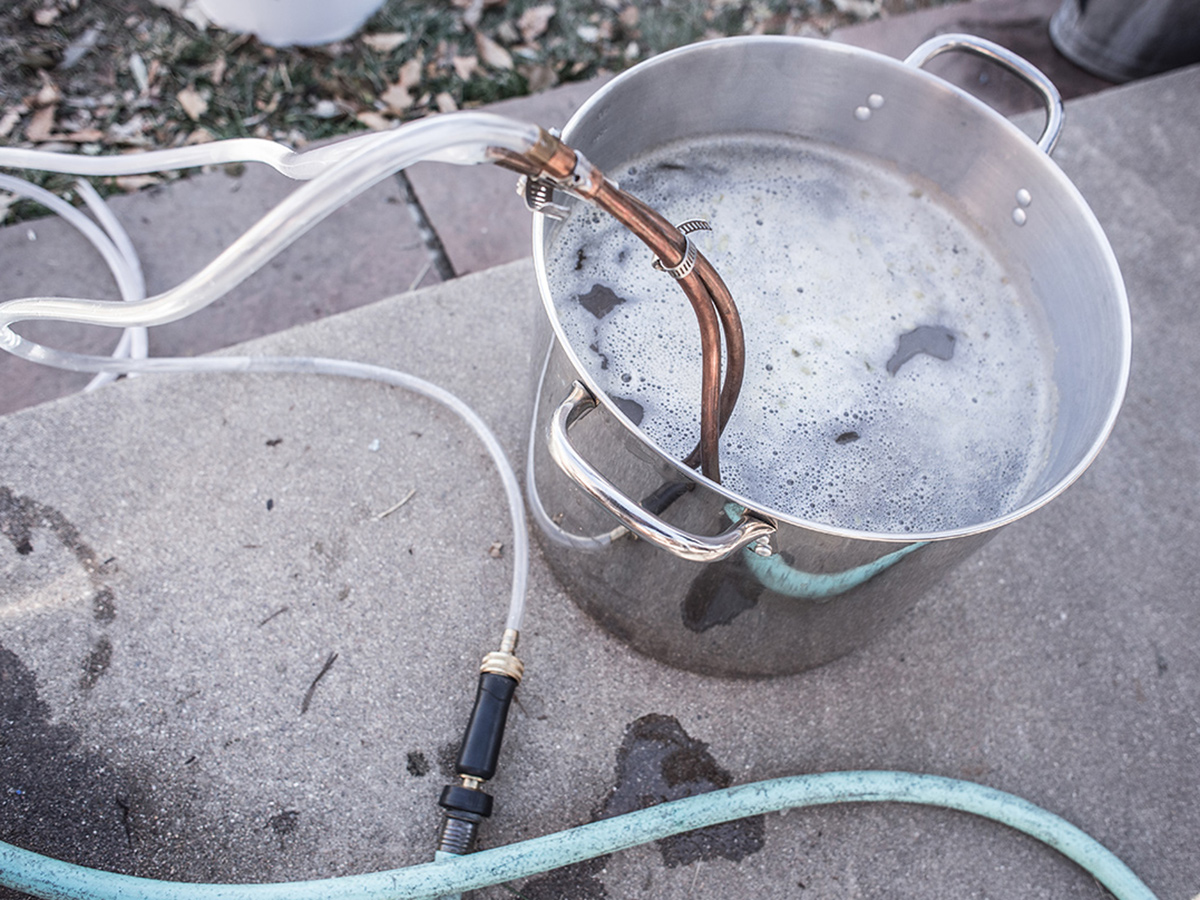
Chill wort
Using the chilling method of your choice (ex: worth chiller), cool the wort down to yeast pitching temperatures—about 70°F (21.1°C).Note: all equipment that comes into contact with the wort after the boil is complete must be sanitized to prevent risk of contamination.
If using an immersion chiller, the device can be placed in the boil kettle for the last 10 minutes or so of the boil as a sanitary measure.
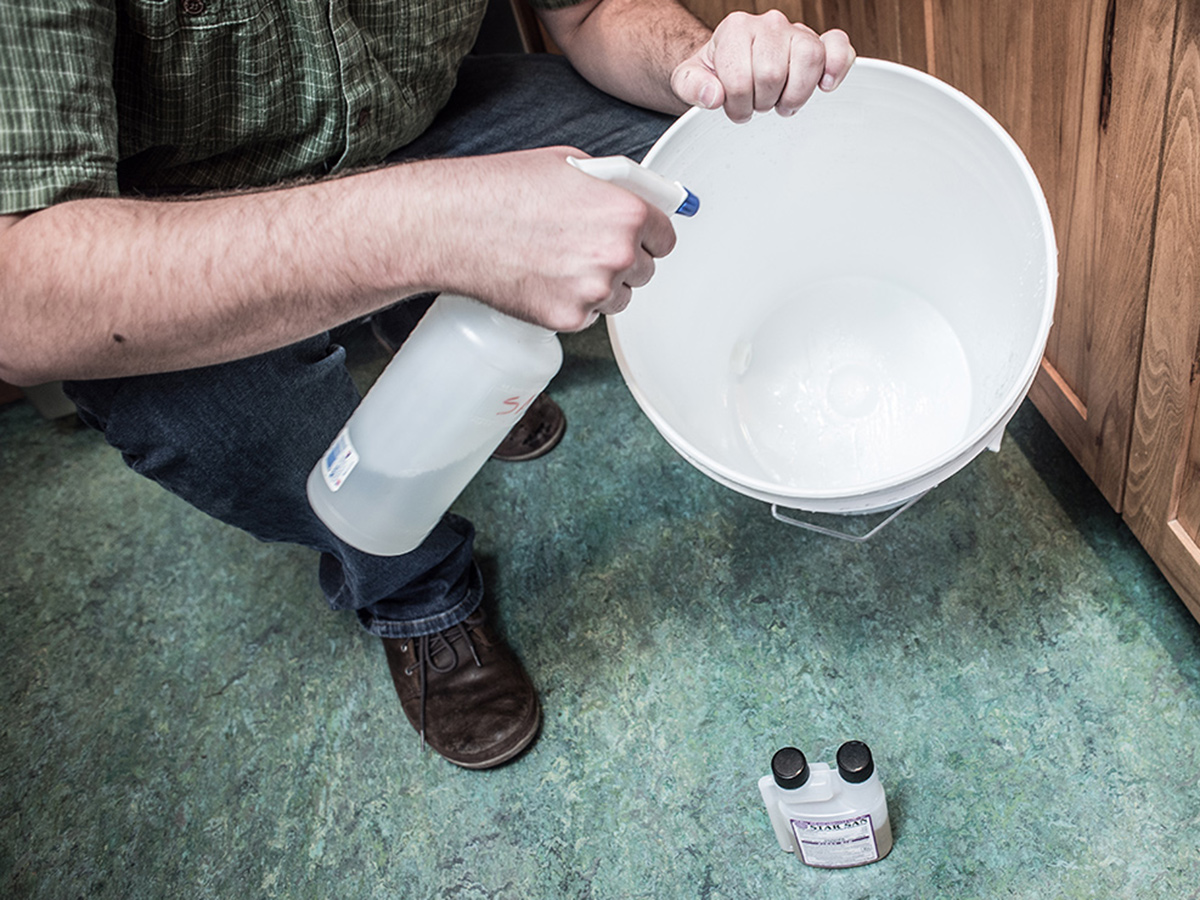
Sanitize equipment
While the wort is chilling, take this time to sanitize the rest of the already cleaned equipment that will come into contact with the wort post-boil.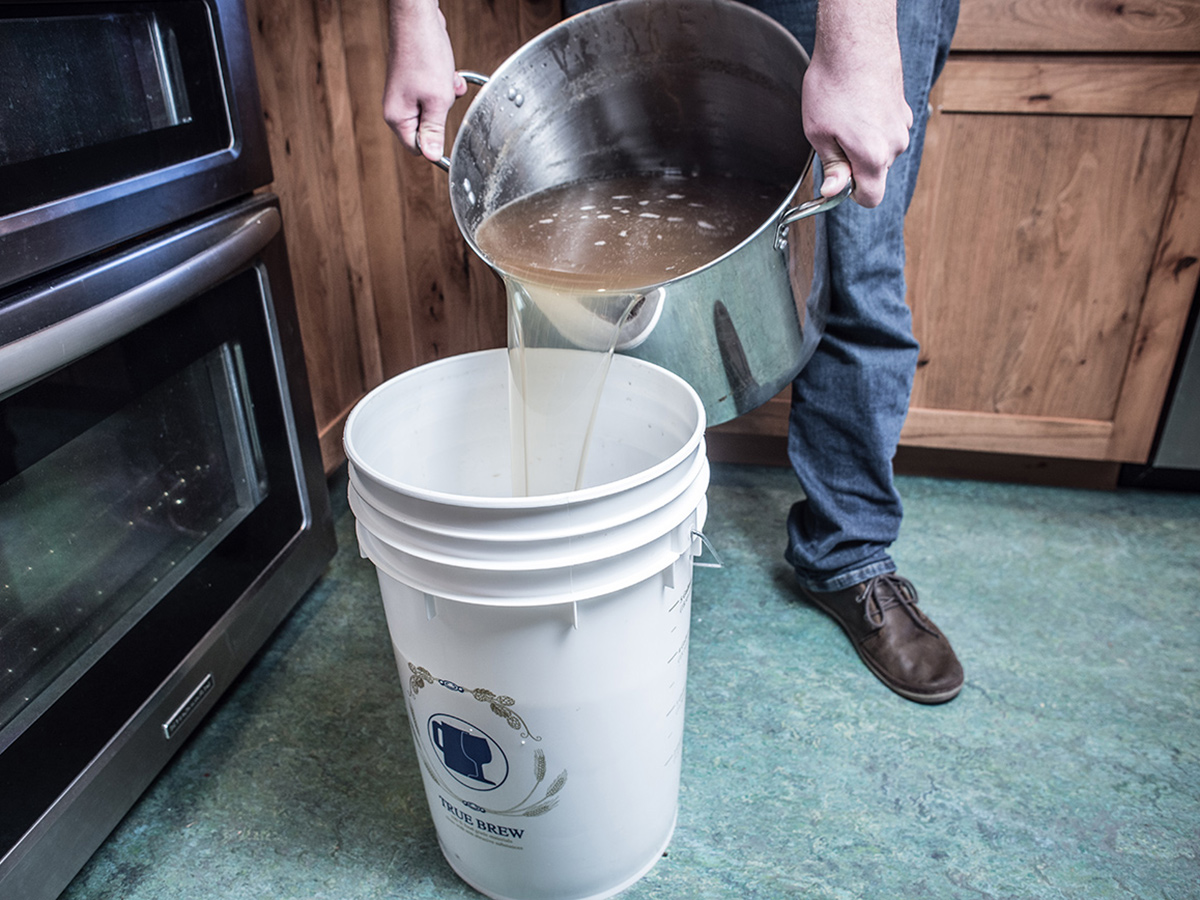
Transfer
Once chilled to around 70°F (21.1°C), transfer the wort to your already clean and sanitized fermenter.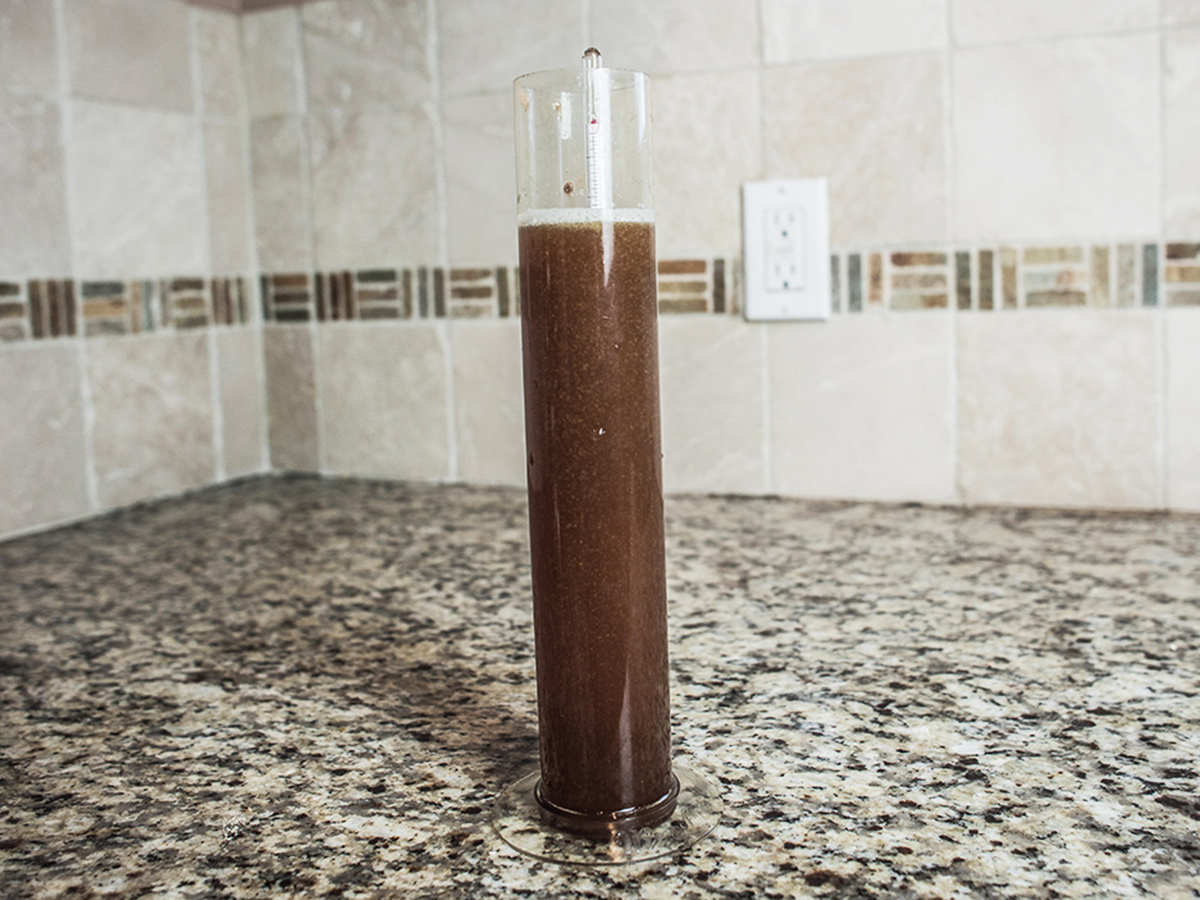
Take hydrometer reading
Using a clean and sanitized cup or wine thief, pull a sample of wort large enough to take a hydrometer reading. This reading is your Original Gravity.It is not recommended to return the sample to the batch of beer due to risk of contamination. If you must return the sample, make sure the hydrometer and the vessel holding the sample are thoroughly cleaned and sanitized prior to testing.
Pitch yeast
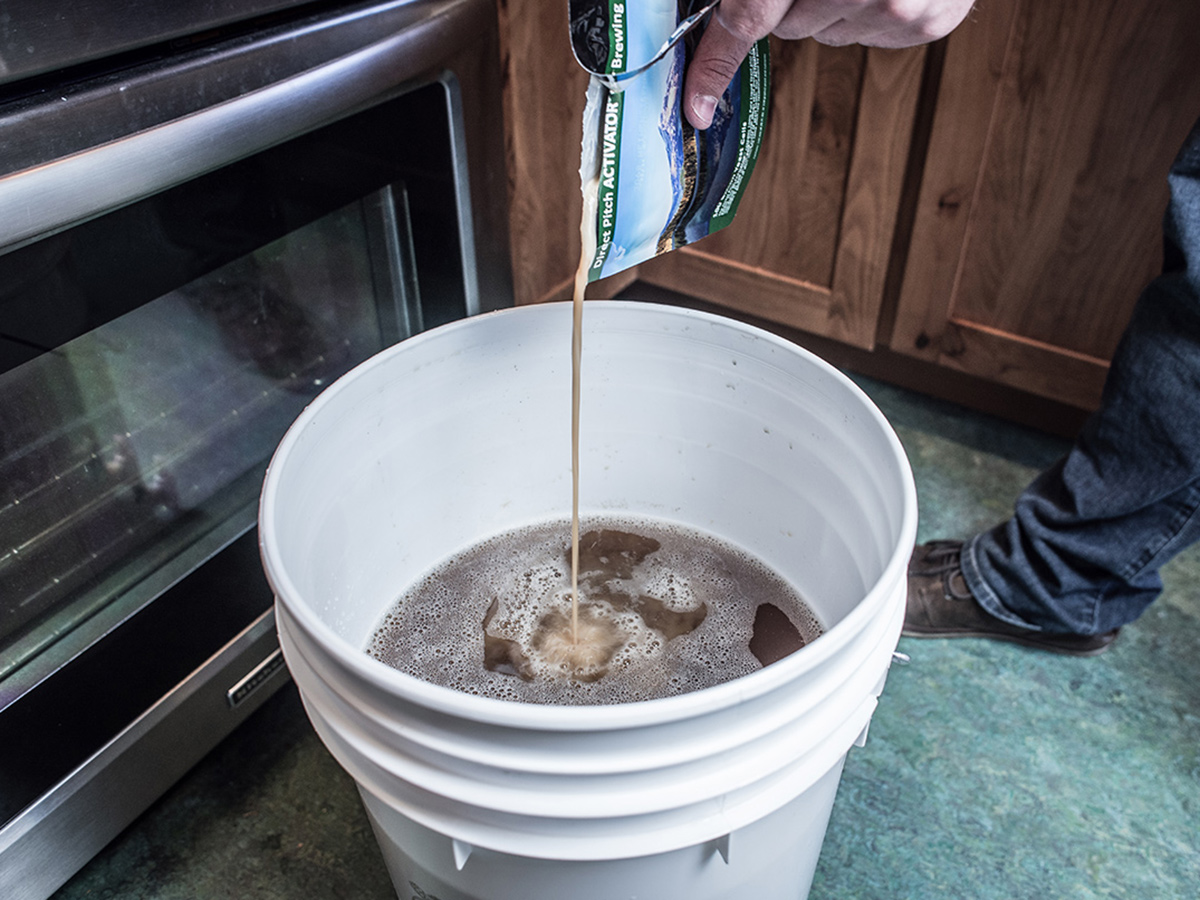
Sanitize the yeast package or yeast starter vessel, and carefully pour (pitch) the yeast into the carboy with the chilled wort.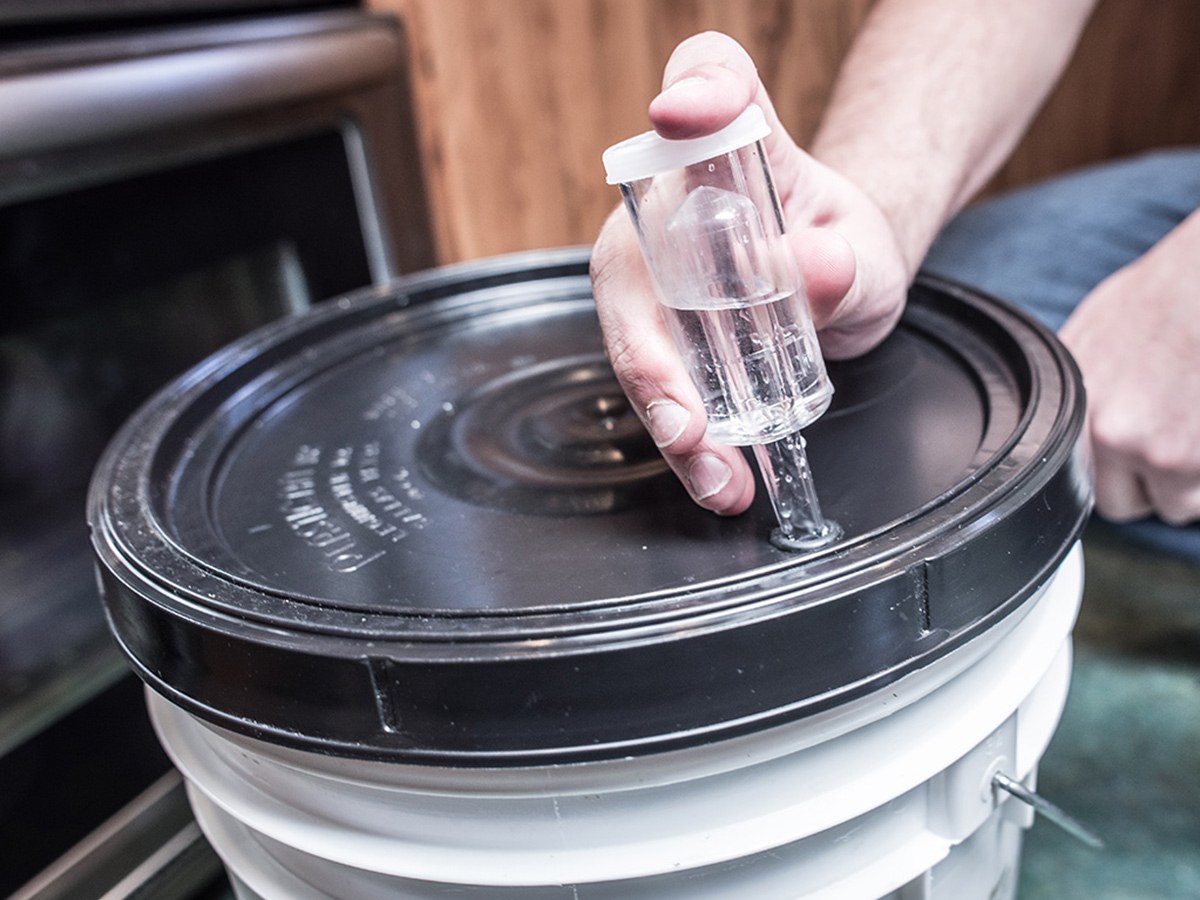
Seal fermenter
After the yeast is pitched, seal the fermenter with a clean and sanitized airlock and bung.
If using a bucket fermenter, a carboy bung may not be necessary.
If you don’t have ample head space, a blow off tube may be required.
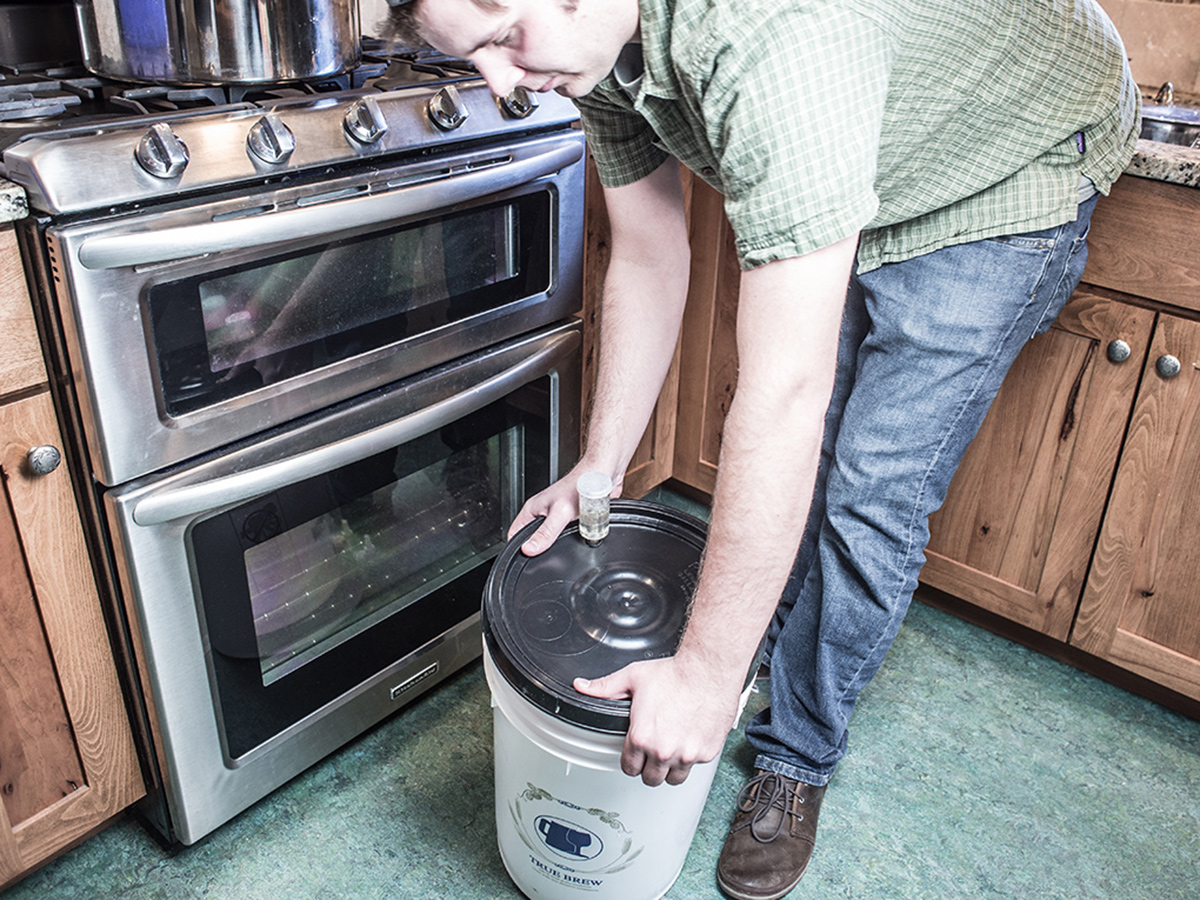
Shake fermenter
Once the fermenter is sealed, give it a shake for a minute or two to provide oxygen which is vital to yeast cell growth and quality fermentation.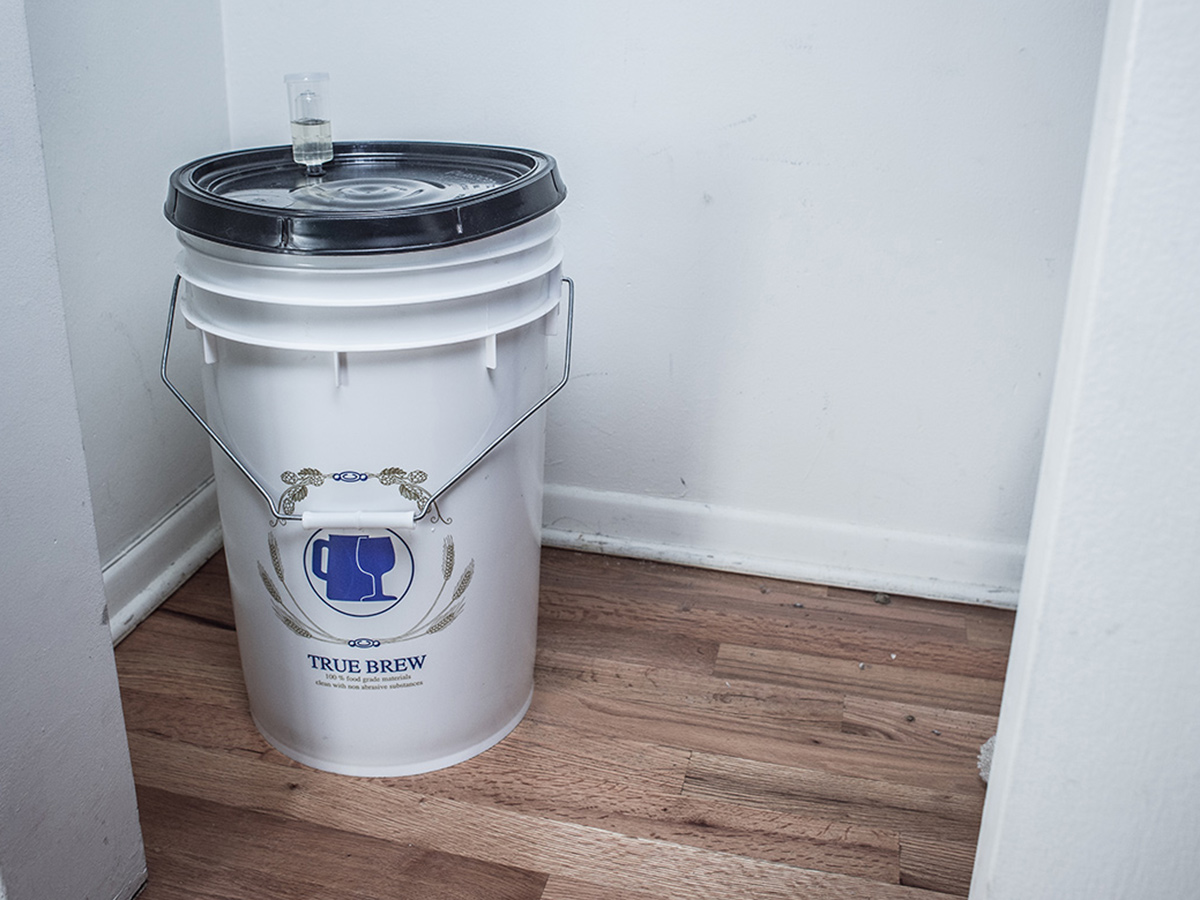
Store fermenter
Advanced homebrewers often have more efficient and accurate means of controlling fermentation temperature. The fermentation steps can be altered to fit your specific equipment.Store the fermenter in a location that can maintain the desired fermentation temperature (67°F; 19.4°C) with minimal disturbance and protection from light. A temperature-controlled fermentation chamber is highly recommended.
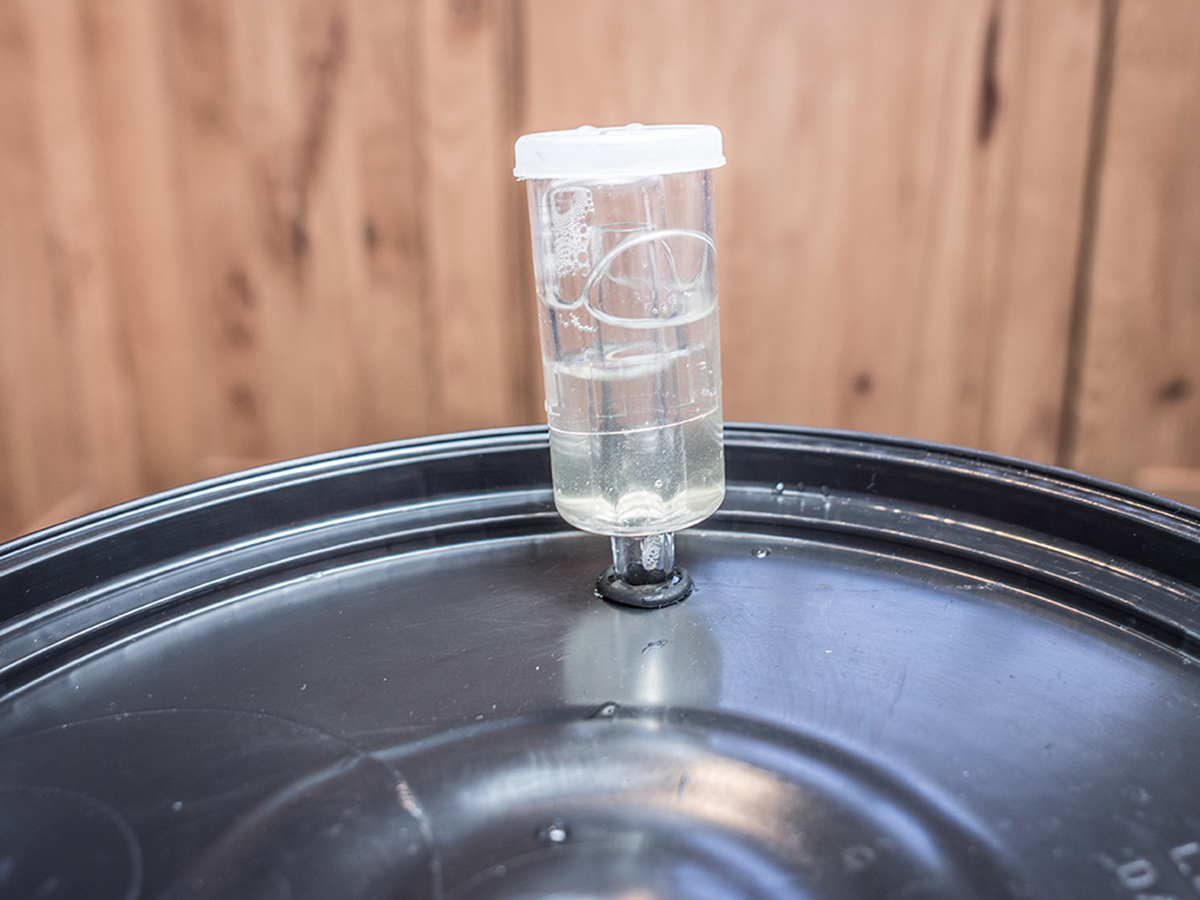
Monitor fermentation
Monitor the fermentation and utilize hydrometer readings to determine when fermentation is complete.Consistent gravity readings over the course of a few days will typically signify fermentation has ceased.

Enjoy
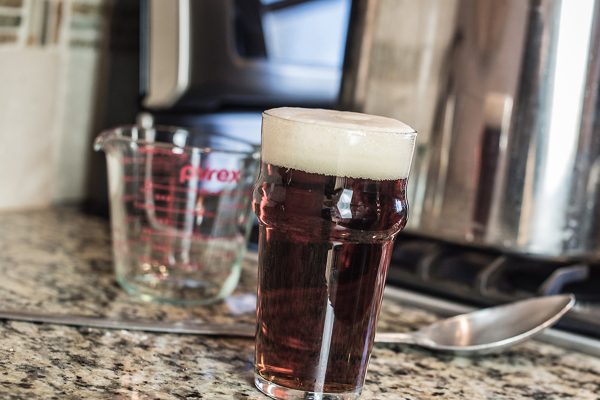
After fermentation is complete, bottle or keg your homebrew. Once carbonated, pour yourself a glass and enjoy the fruits of your labor!PHOTOS © BREWERS ASSOCIATION
[raw]
[/raw]

Share Post