by Ted Hausotter
Blending actually has many advantages, including fixing beers that just didn’t come out right. It can breathe new life into old ales or barleywines. What about those almost-empty kegs you have hanging around? Blend them together!
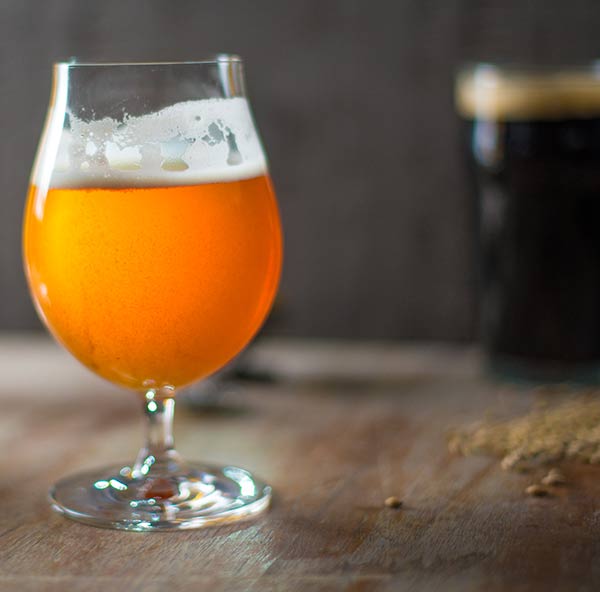
Blending has been around for years. In the distant past, old beers were blended with new to help make them drinkable, smoothing over sourness from spoilage and harshness from oxidation. Remember the origins of porter, where the bartender blended the three threads or thirds of old stale ale, brown ale and pale ale, creating a unique beer called porter? Bartenders are still blending beers today: the Black and Tan (stout and a lighter beer, usually a light lager) is alive and well. It has the best of both beers—the light drinkability of a light lager and the robust intrigue of a dry stout.
Currently, young and old lambics are blended to form gueuze. Many commercial brewers blend beer with water, brewing a high gravity beer 10 to 20 percent stronger and blending with water after fermentation to get more production out of their system. They also use blending as an important brewing technique to help maintain product consistency. By blending some of the previous batch to the current batch, flavor differences between batches are less noticeable.
From experience, most blends are better than their parents. A medley of leftover kegs is a great concoction to take to gatherings. Surprisingly, beers that are tired and uninspiring by themselves can come together to create a fun, refreshing drink.
Trial and Error
Determining how much to add of each beer is the fun part. All you need to do is add a known amount of beer to another known amount of beer (or other beverage), stir to blend, then sample to see if you like the overall balance and presentation of the blend. Flasks with gradations or measuring cups help make this process easier.
By using parts, it is easier to determine final amounts. An example would be one part Pilsner to two parts dry stout. This makes final blending easier as you can then use volume or weight. Try three different blends, with each getting a little stronger. Rates of 1:1, 1:2 and 1:3 will give you a good idea if the blend will work. Keep repeating until you have the perfect pint, zeroing in on the best flavor. Record what you like the best. Don’t worry if some do not work— some blends were not meant to be.
Some blends are good enough to warrant a new recipe for a single batch. If so, combine the recipes together based on the ratio of beer in each. If your ratio is 1:3, this means 25 percent of the blend is beer one and 75 percent of the blend is beer two. Take the recipe for beer one and multiply all ingredients by 25 percent. From recipe two, multiply the amounts by 75 percent. Add both recipes together and you are ready to brew a beer that is close to the blended beer. If you have more than one yeast strain involved, the new beer may not be the same, but it should be close. This is a good technique to zero in on when mastering a new beer style.
Blending During Brewing
You can also brew two different recipes and blend them together during fermentation or packaging. In the fermenters, it’s easy: just put the “parts” in a new carboy per your tasting notes. It’s helpful to mark volume lines on the carboy so you can add the correct ratios of different beers. The finished product at this stage is sometimes difficult to predict because the beers have not yet matured and developed their expected flavor profile.
When packaging, you will find it easier to blend in kegs, but this can also be done in bottles. A simple platform postage scale lets you keep track of the volume. Noting the tare weight on your kegs is beneficial in blending. Beer weighs 8 pounds per gallon. At this stage, the beer should be matured.
When blending in kegs, some process adjustments may be in order. Oxidation can potentially ruin your blends, taking away their luster by making them age quickly. This is especially true when you may not be filling the kegs completely. You need to take steps to prevent oxidation.
To prepare a keg for blending, it must be clean and sanitized. Next, purge it with CO2. By swapping the beer quick disconnect with the CO2 quick disconnect on the gas line, it will fit on the beer side of the keg, forcing the CO2 down to the bottom of the keg. Put a few pounds of CO2 pressure in the keg and vent. Repeat for a total of 10 times. Note: be sure to vent the air out of the gas tube on the keg.
Next, to add beer to the keg, make a jumper hose that has beer quick disconnects on both ends. Put one end on the keg you want to draw off of. Put the other end in a bucket and open the top of the quick disconnect to vent air out of the line. Close it as soon as beer comes out. Make sure you have less pressure in the keg you are racking to and connect the quick disconnect to it. It is best to keep the pressure in the blend near your normal storage pressure. Increase pressure in the feed keg to get the beer to rack over. A pressure gauge on the gas side of the blend keg is helpful.
Some beers lend themselves to blending and should always be available to fix or adjust other beers. A good example is a Super Helles, or a stronger version of a Munich Helles. It has no specialty malt and very little hop flavor, making it a good addition to many blends.
Another thing to keep handy is a keg of carbonated water. Boil 5 gallons of water and add to a clean, sanitized keg and carbonate. With this you can water-down beer when the original gravity is overshot.
Ted Hausotter is an award-winning homebrewer from Baker City, Ore. and the Mountain/Northwest regional representative for the Beer Judge Certification Program.
The opinions and views expressed in articles are not necessarily those of the American Homebrewers Association and its magazine, Zymurgy.


Share Post