Certain equipment is needed to brew beer at home. Familiarize yourself with the “Essentials” and “You Might Haves” if you’re just getting started. As you progress in homebrewing, check out the other sections for equipment that’ll up your brew game. And don’t forget to geek out on the “Nice to Haves” section: we are continuously adding to it!
We have not converted these nuggest to friendly gutenberg blocks yet – but we can if we want to use this design on other pages!

Essentials
Essentials
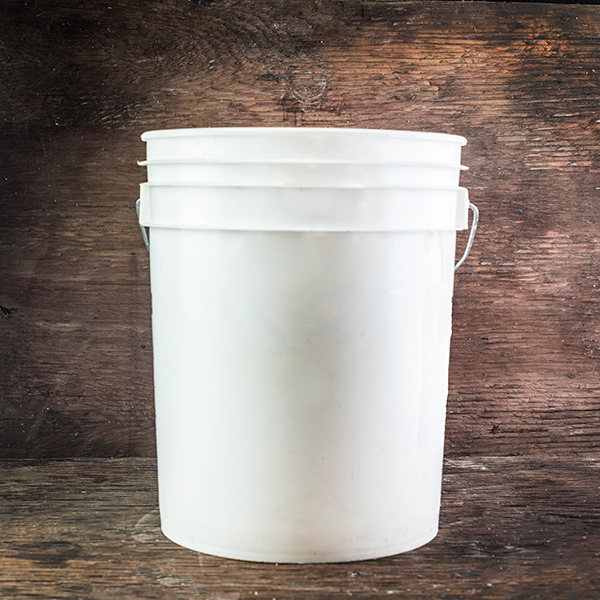
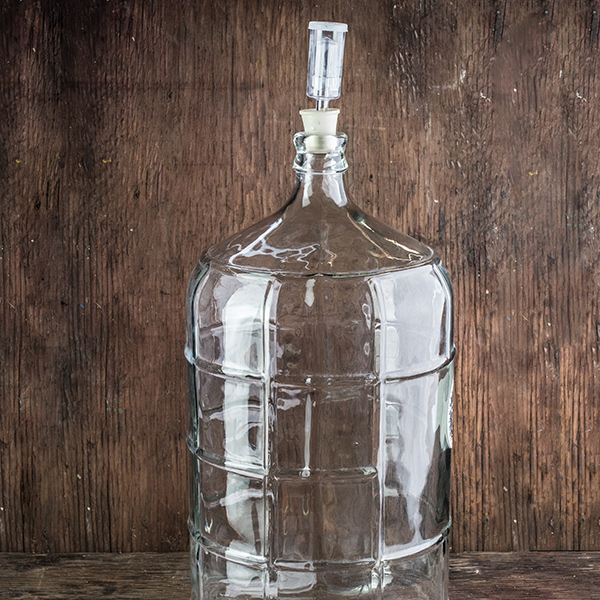
Fermenter
A vessel is needed to hold the wort as it ferments into beer. There are many types of fermenters, each with its own pros and cons.
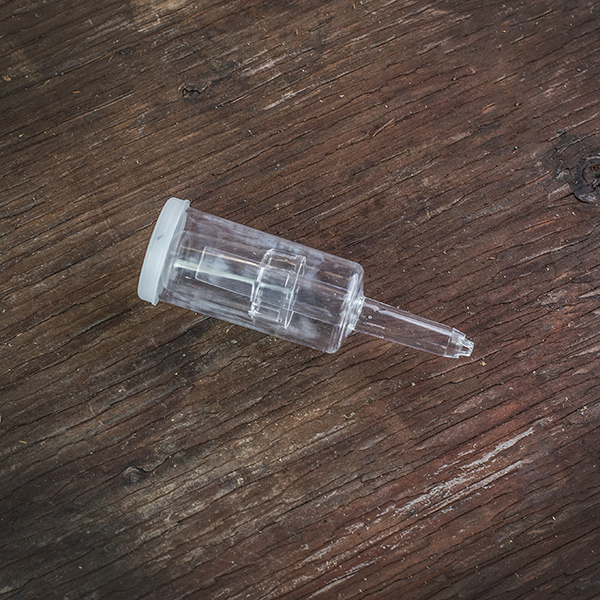
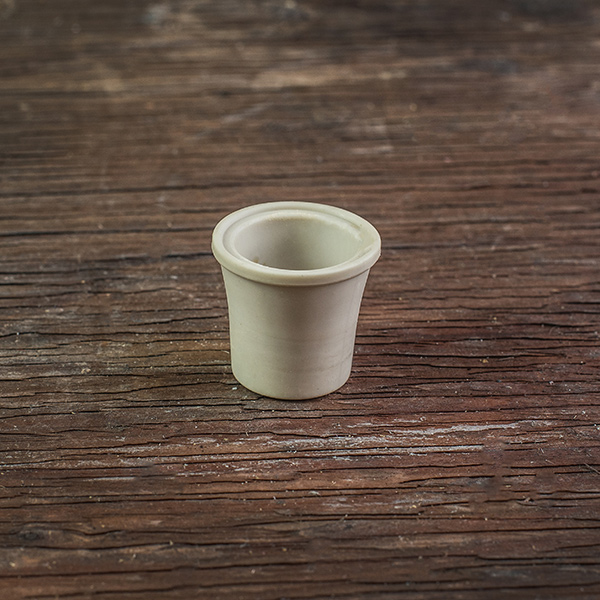
Airlock & Bung
An airlock is inserted in the top of a fermenter and allows carbon dioxide, a byproduct of fermentation, to escape the fermenter without letting contaminants in. Depending on the fermenter, a bung is sometimes needed to secure the airlock. Without an airlock, pressure in the fermenter could cause the lid or bung to pop off, or worse, the fermenter to explode, leaving you with a sad mess.
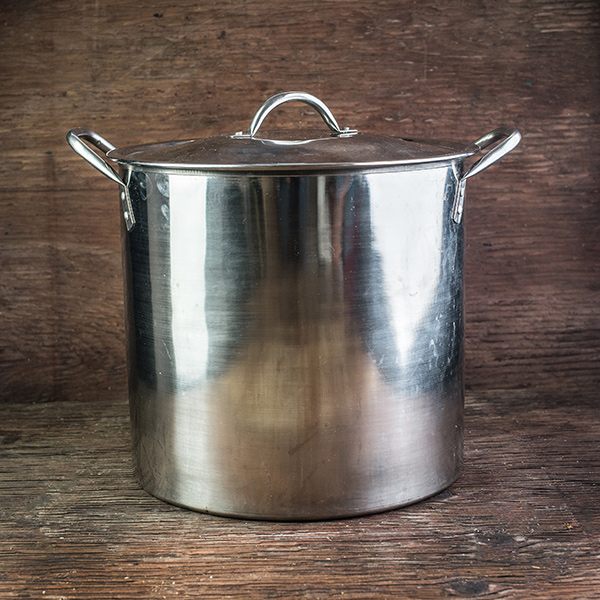
Brew Pot (Kettle)
The entire boiling process, including extract, hops and/or other ingredients, takes place in the brew pot, or kettle. Depending on the batch size, a 1.5- to 5-gallon (6- to 20-liter) brew pot will be sufficient for partial-boil extract brew. As you start dealing with larger volumes of liquid, you’ll want to look into larger brew pots and make sure you have plenty of headspace to avoid a boilover.
Heat Source
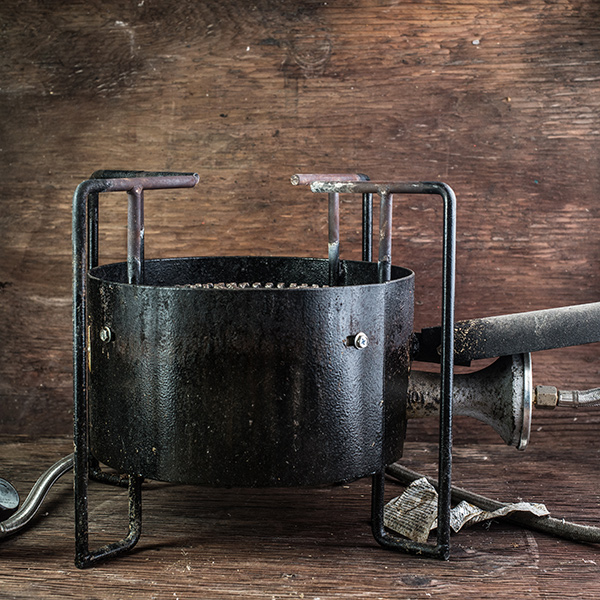
You’ll need a heat source that’s powerful enough to heat up your pre-boil volume in a timely manner (a watched pot never boils, right?). The stove in your kitchen should suffice for smaller amounts, while a turkey fryer or another powerful heat source works well for larger batches.
Siphon/Tubing
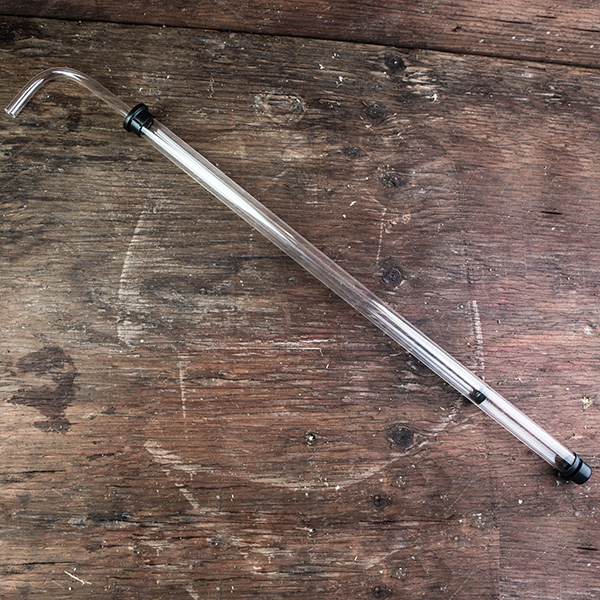
A siphon and tubing is a great way to streamline moving hot wort or finished beer around without the hassle and mess of lifting and pouring (and spilling!) large quantities by hand. Quick tip: an auto-siphon is a type of siphon that creates a vacuum to pump liquid from one vessel to another without introducing too much oxygen or other contaminants into the beer.
Cleaner
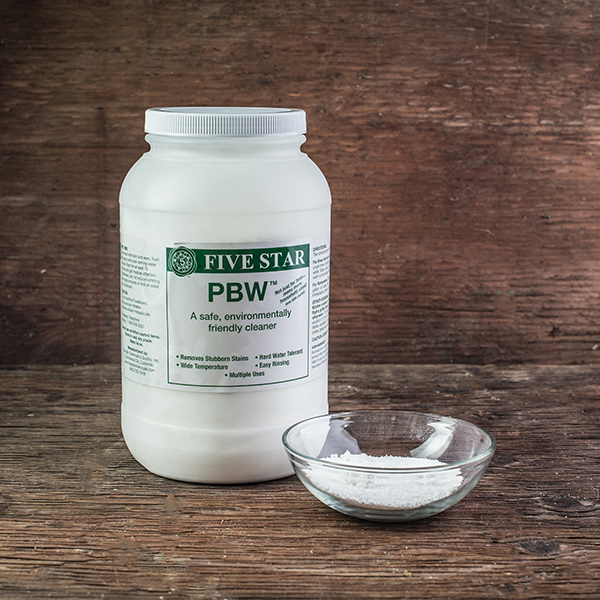
There are homebrew-specific cleaners available that you can find at your local homebrew shop, but unscented dish cleaner also works. Avoid products with scents, which can stick around after cleaning and cause off-flavors and aromas in your beer.
Sanitizer
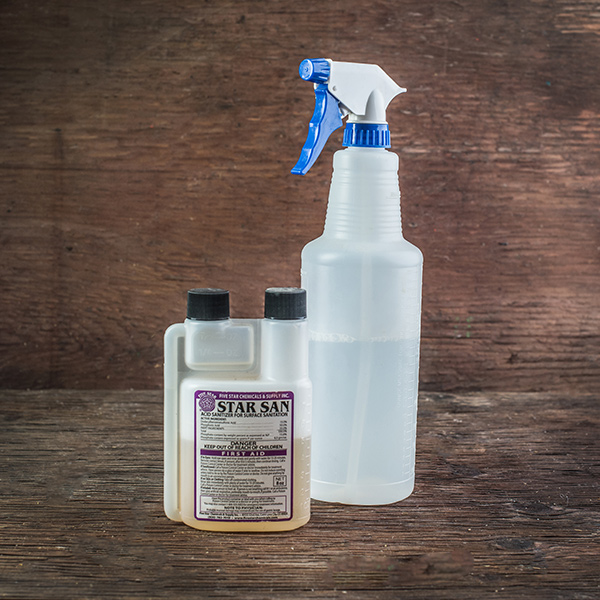
Different than cleaner, sanitizer ensures there are no microorganisms that could spoil the goods on your brewing equipment after you clean. There are homebrew-specific, no-rinse sanitizers available at your homebrew shop, but a proper dilution of 1 oz. bleach per gallon of water (8 mL/L) can be used followed by a thorough rinse.
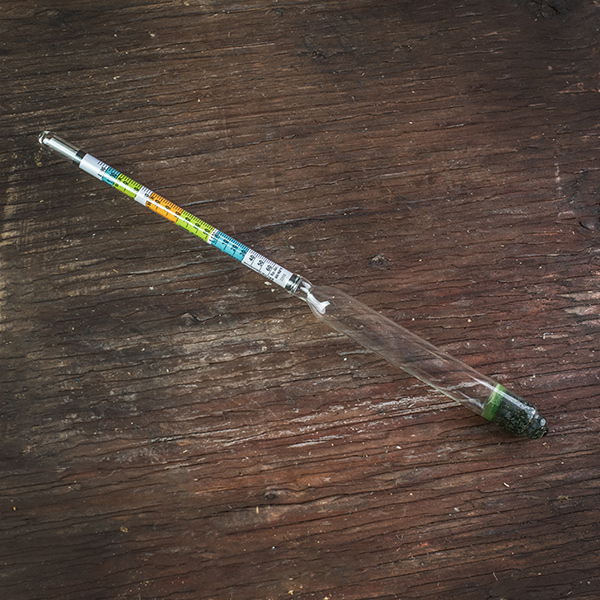
Hydrometer
A hydrometer is used to measure the gravity, or sugar density in wort and beer. You technically don’t need a hydrometer to brew beer, but measuring gravity lets you closely monitor fermentation and calculate specifications like alcohol content. You’ll also need a vessel to hold the sample for measurement.

You Might Haves
You Might Haves
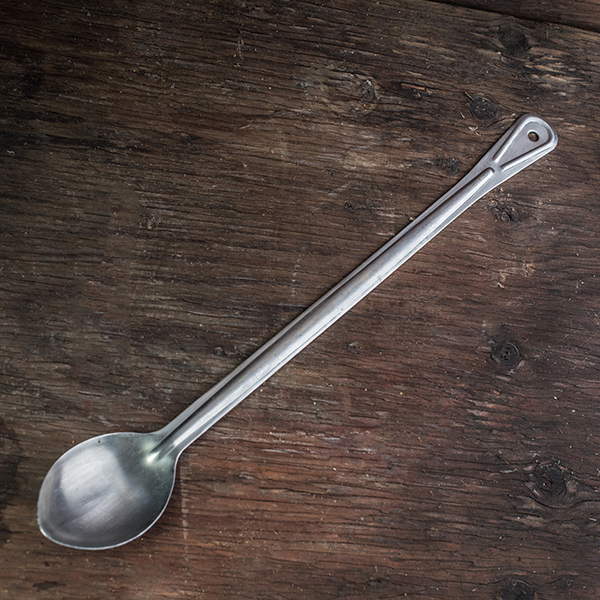
Stirring Spoon
During the mash and boil, stirring is usually required for a variety of reasons. Any spoon capable of reaching the bottom of your brew pot and mash tun will suffice. Plastic, wooden, and stainless steel spoons are all commonly used.
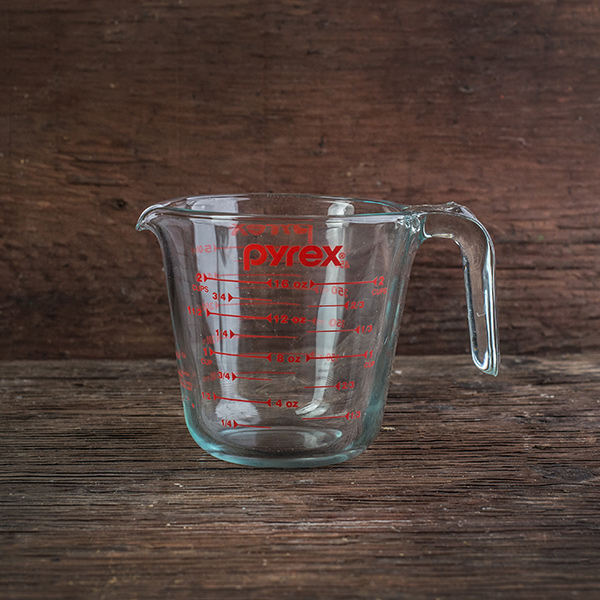
Measuring Cup
Any measuring cup can be used to measure the appropriate water volumes.
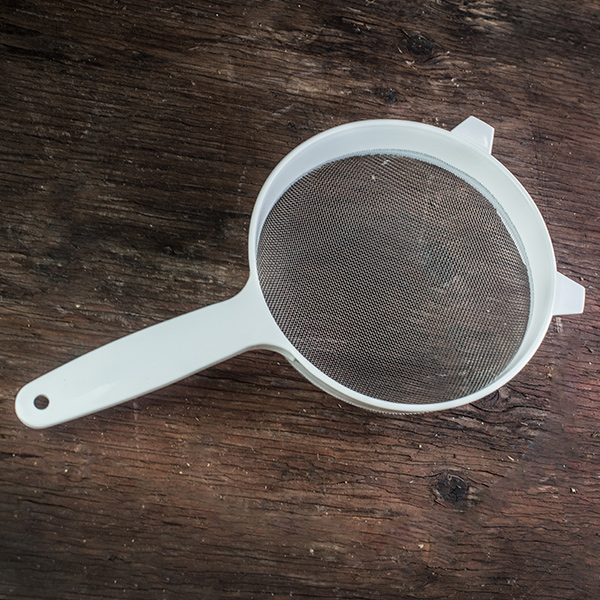
Strainer
When transferring (racking) the wort from the brew pot to the fermenter, some homebrewers choose to run the liquid through a strainer to prevent hops and other solids from being transferred. A fine-meshed colander or straining bag will do the trick.
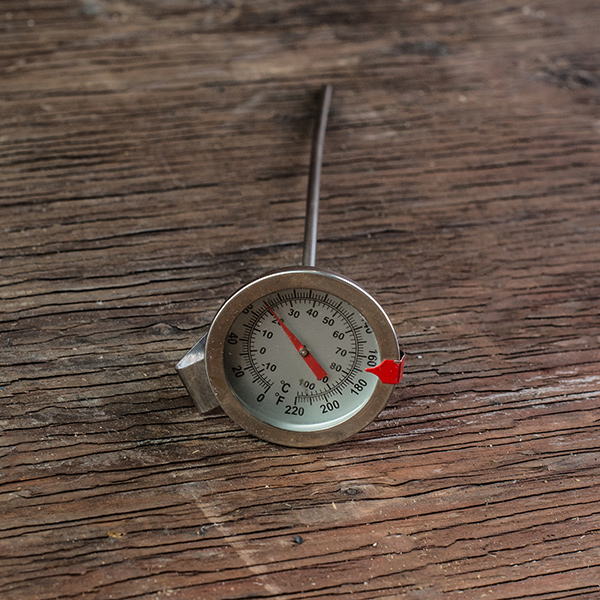
Thermometer
It’s important to pitch the yeast at a specific temperature, typically below 75°F (24°C), and a thermometer is a good indicator. Be sure to acquire a calibrated thermometer that can withstand high temperatures.

Mashing
Mashing
BIAB (Brew in a Bag) Only
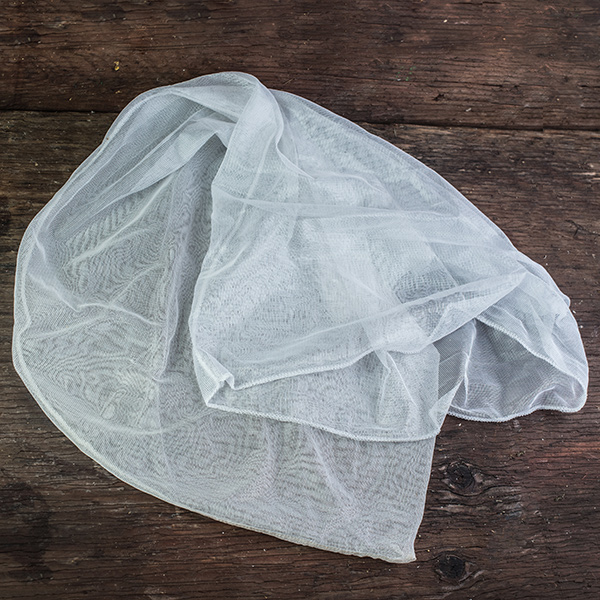
The ideal BIAB bag fits around the circumference of your brew pot without resting on the bottom to prevent scorching (does it smell like something is burning?). The bag will hold most of the grain sediment. You may purchase pre-made bags at your local homebrew store, but many homebrewers put that DIY attitude to use and make their own.
All-Grain (Brew in a Bag) Tutorial
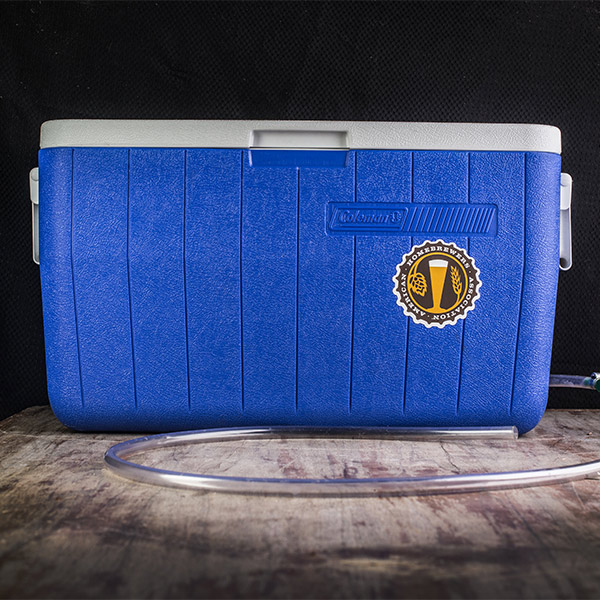
Mash Tun (Needed for Batch Sparging)
A mash tun is used to hold heated water and grain at a specific temperature during the mash and to separate wort from the grains.
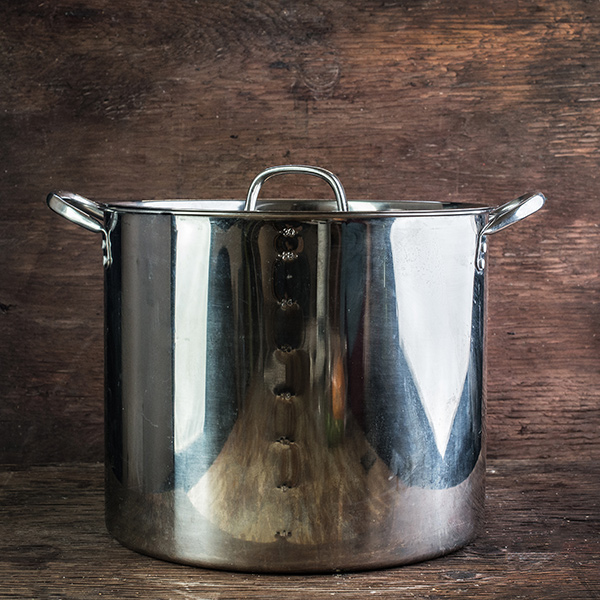
Sparge Pot (Hot Liquor Tank)
An additional pot is used to prepare sparge water in all-grain brewing. You add sparge water to the mash tun to rinse the grain of any sugars left behind after you initially drain wort from the mash. A sparge pot (sometimes called a hot liquor tank, or HLT) can be used, but is not necessary. The same goes for BIAB brewing, too.
Pitcher
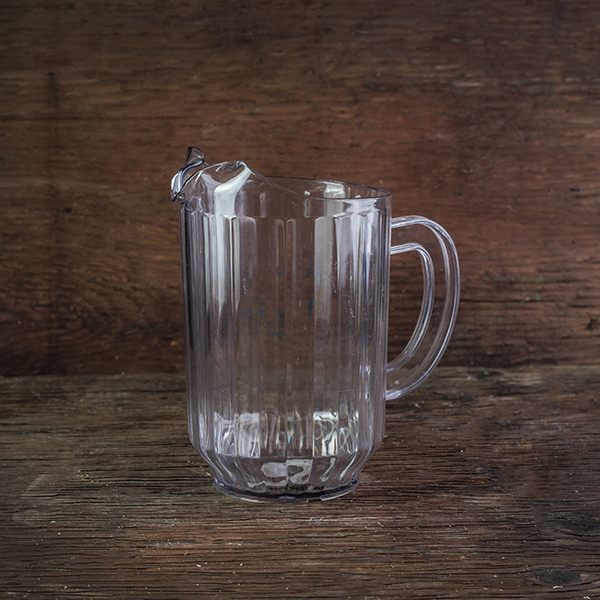
A pitcher or small pot with a handle is used for the recirculation process that settles the grain bed and clarifies the wort, a process known as vorlauf. Vorlauf prevents an overt amount of grain sediment from making it into the boil by recirculating the wort until the grain bed settles before transferring the wort to the brew pot.

Bottling
Bottling
Bottle Brush
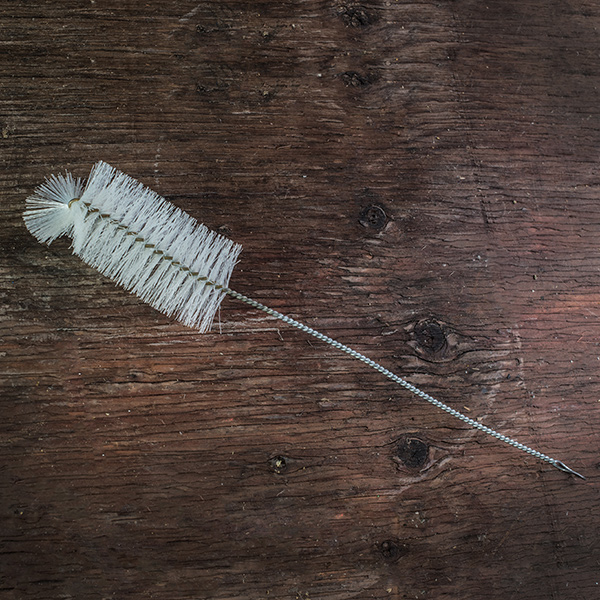
It is crucial to thoroughly clean and sanitize bottles before using them for homebrew. A bottle brush will make quick work of dislodging any sediment inside bottles that can ruin your beer. You can also go with the “brushless method” which involves soaking the bottles in a bleach solution for five minutes and thoroughly rinsing out the bottles afterwards.
Bottles
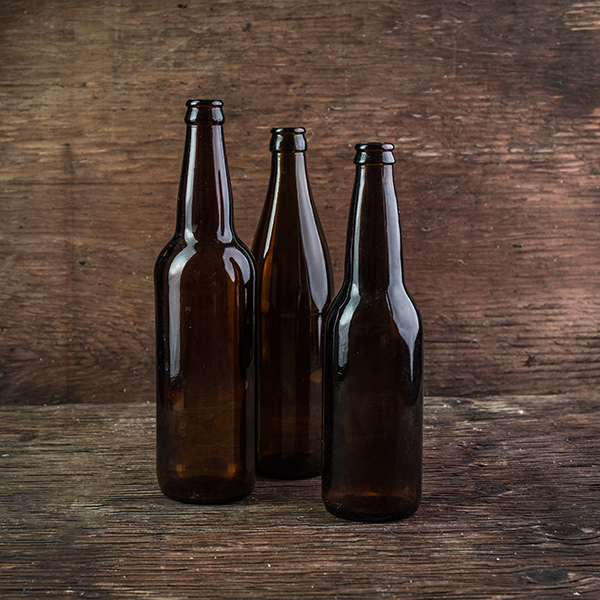
Glass beer bottles are needed to package your homebrew. Bottles can be purchased from a homebrew shop or you can simply reuse beer bottles after thoroughly cleaning and sanitizing them. Do not use twist-off bottles, as they’re difficult to seal airtight.
Bottle Caps
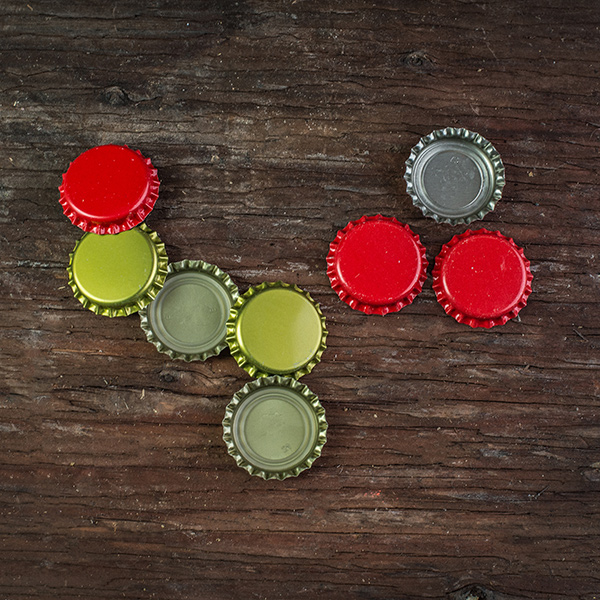
Purchase unused crown caps from a homebrew shop. Make sure you are purchasing the correct size, as some larger bottles require larger caps.
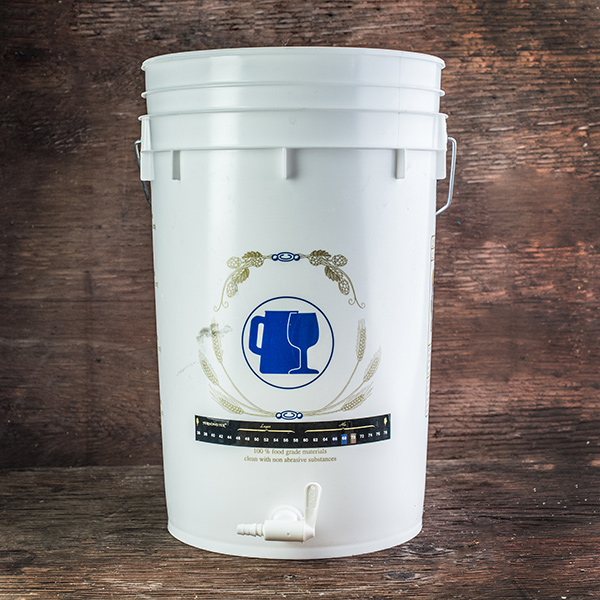
Bottling Bucket
A bottling bucket is like a plastic fermenter with a spigot near the bottom. The fermented beer is racked into the bottling bucket with a sugar solution, and a bottle filler is attached to the spigot for easy bottling. Make sure to clean and sanitize your bottling bucket before use!
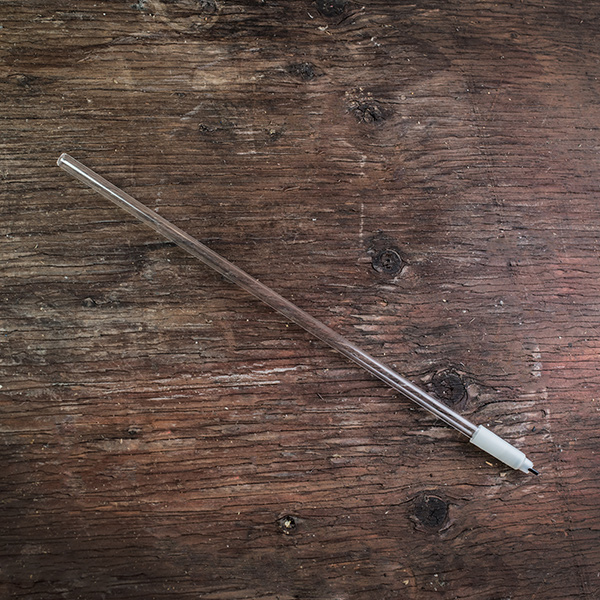
Bottle Filler
A bottle filler (wand) is a hard plastic tube with a spring-loaded tip used for filling bottles. When the spring-loaded end of the tube is pushed against the bottom of a bottle, it allows beer to flow through. Remove from the bottom of the bottle and the flow stops.
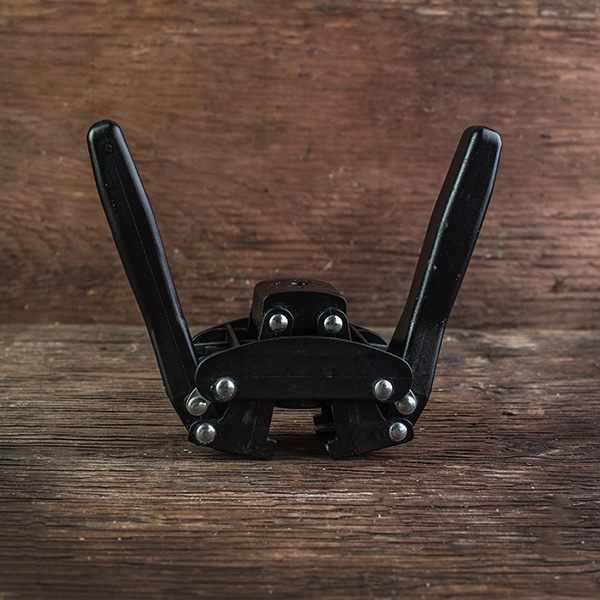
Bottle Capper
A special device is needed to seal bottle caps. A basic twin-lever capper is typically used and will get the job done, but some homebrewers have bench-mounted cappers for speed and ease.

Kegging
Kegging
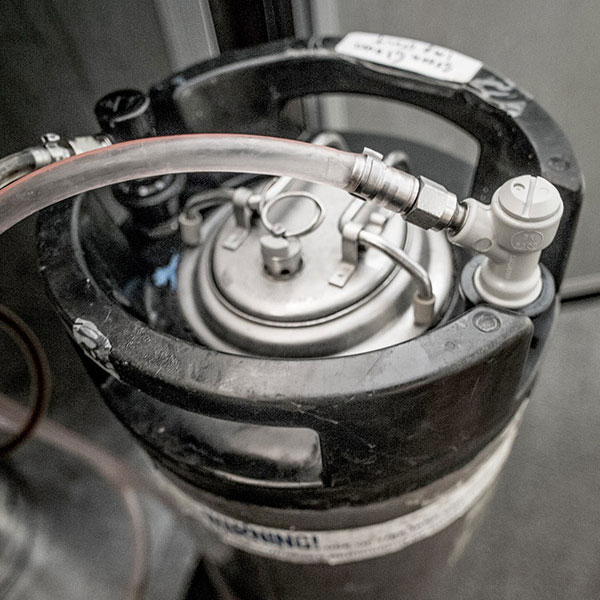
Home Kegging System
There’s nothing quite like pouring your homebrew straight from the tap. Learn how to setup and maintain your home kegging system with our Introduction to Kegging guide.

Nice to Haves


Nice to Haves
Immersion Chiller/Plate Chiller
An immersion or plate chiller speeds up the process of cooling wort down to yeast pitching temperatures. Rather than use an ice bath to cool boiling wort, cold water is circulated through a length of coiled copper tubing immersed in the wort to quickly bring the temperature down. A plate chiller is slightly different, as there are a series of plates stacked together with one tube inside of another tube. The inner tube is pumped with the hot wort, while the outer tube is pumped with cold water, cooling the wort as it passes through.
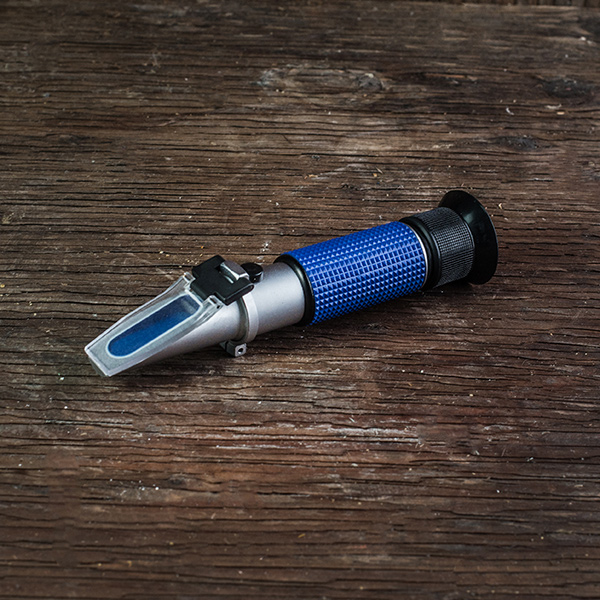
Refractometer
A refractometer measures gravity like a hydrometer but needs just a few drops of wort to get a reading.
Scale
A scale that can weigh out once and gram increments is useful in homebrewing for measuring ingredients.
Fermentation Chamber/Temperature Controller
As your homebrewing skills evolve to obsession, fermentation management becomes increasingly important. It is common to modify a fridge or freezer to maintain fermentation temperatures with a temperature controller. Check out the Pimp My System section for some impressive DIY systems.
Secondary Fermenter
If you plan to add additional ingredients like dry hops to your beer after the main fermentation, a secondary fermenter is recommended. It’s important for a secondary fermenters to have as little headspace as possible to prevent oxygen introduction.
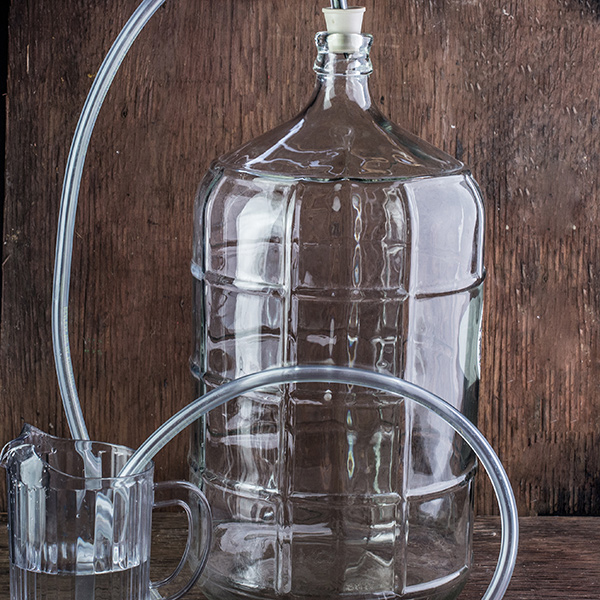
Blow Off System
If your fermenter doesn’t have enough headspace to contain a highly active fermentation, a blow off tube can be used instead of an airlock. Attach a blow off tube to the top of the carboy in the bung. This allows kräusen (foam on top during fermentation) to flow out of the tube and into a container of sanitizer.


Share Post