By the American Homebrewers Association
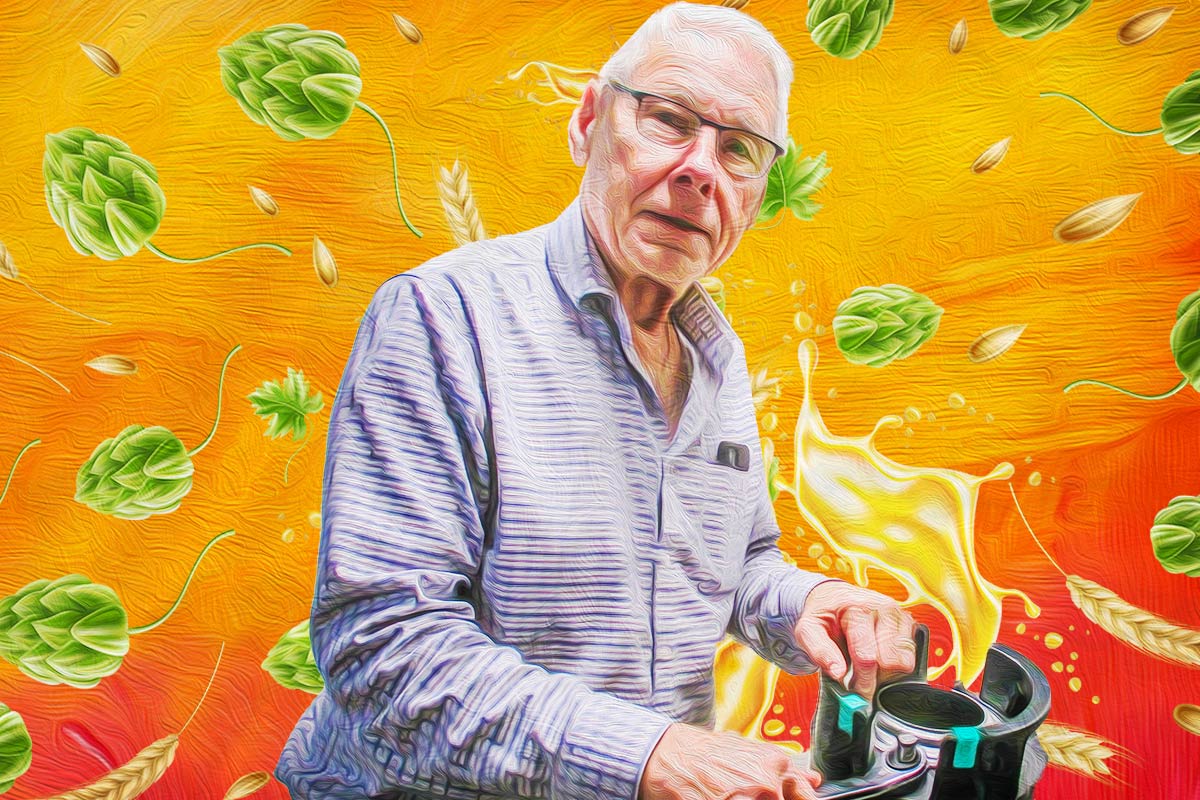
Norm Ryder has been homebrewing since 1971, and he still considers himself a student of the craft.
“I guess it is rare to see someone still learning after brewing 52 years,” Ryder shares from his home in Ontario, Canada.
We caught up with Norm to hear about his homebrew journey and his current process that keeps his kegs full and taps flowing.
Love at First Pint
Norm’s first taste of homemade beer was during a university study session. “A lady in my class asked me if I wanted to try her husband’s beer,” recalls Ryder. It was the best homebrew he’d ever had (at the time).
“What really piqued my interest was that a major brewery added his beer to their tasting lineup to decide what recipes they were going to showcase, and the tasters were most impressed with the homebrew recipe,” shares Ryder. The recipe used a hopped malt extract found at the grocery store.
Norm decided to try making the beer and opted for the light variety since he was a Labatt’s 50 ale fan then. “I think the real secret was the freshness of the malt extract since the store was located in an area with many European homebrewers.”
After six weeks of conditioning, Norm was able to test his wares. The sample must have been good, as it would be the inaugural brew for a 50+ year homebrewing spree.
Dual-Brew System Setup
Norm pushed on making batch after batch of homebrew, honing his skills and enhancing his brew system. Today, he is not only still making beer but doing so in a big way.
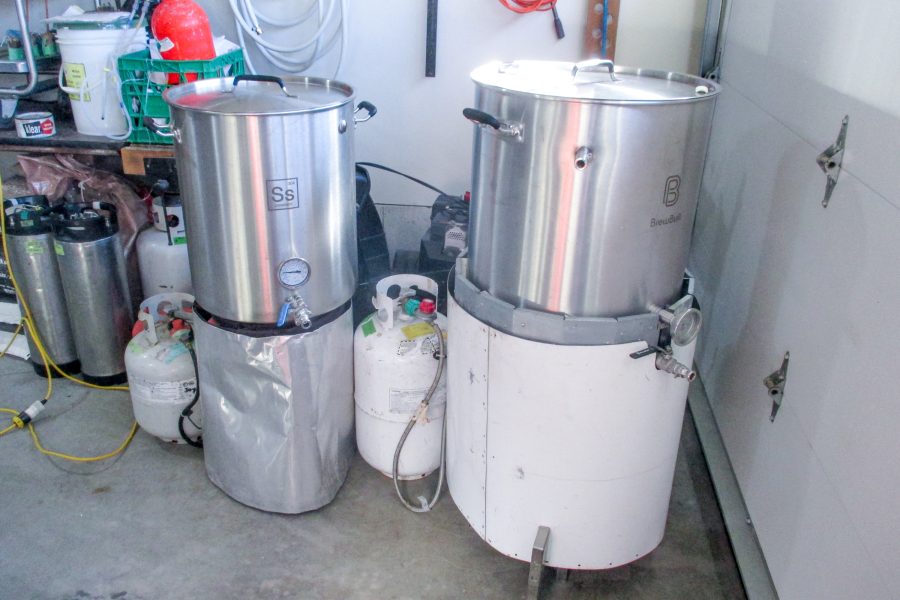
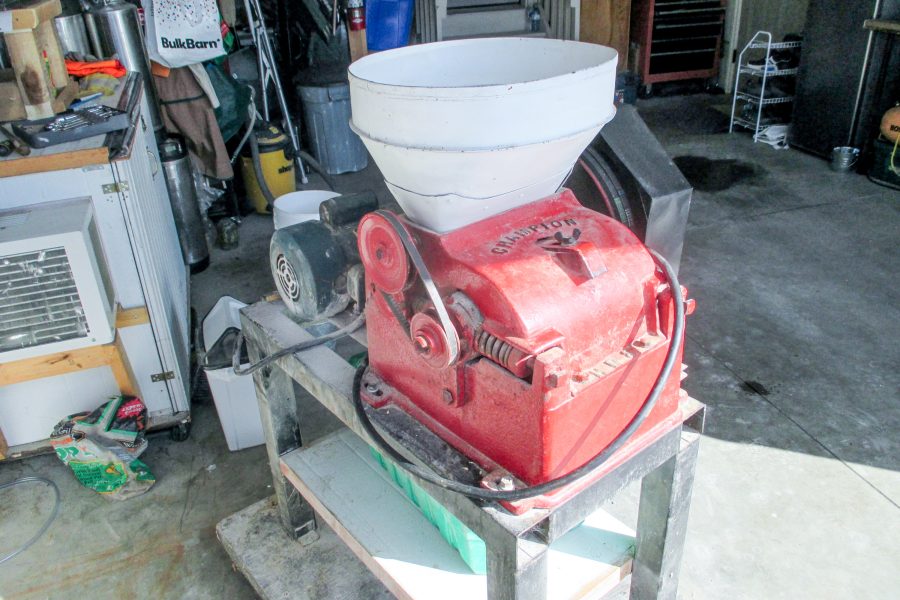
Norm’s all-grain homebrew system consists of 3 mash tuns, two boil kettles (21- and 31-gallon), and five propane burners. He is also a DIYer, fabricating, customizing, and refurbishing equipment to evolve his brewery. “I still use the capper my mother used on the farm to make grape juice for me as a youngster!”
This collection of gear is central to the brewing process that allows Norm to make multiple batches during one brew session.
“I tend to brew one tried-and-true recipe and one experimental recipe each brew day,” shares Ryder. “I get my brewing ideas from fellow [True Grist] club members, brewery tasting tours, and beer magazines.”
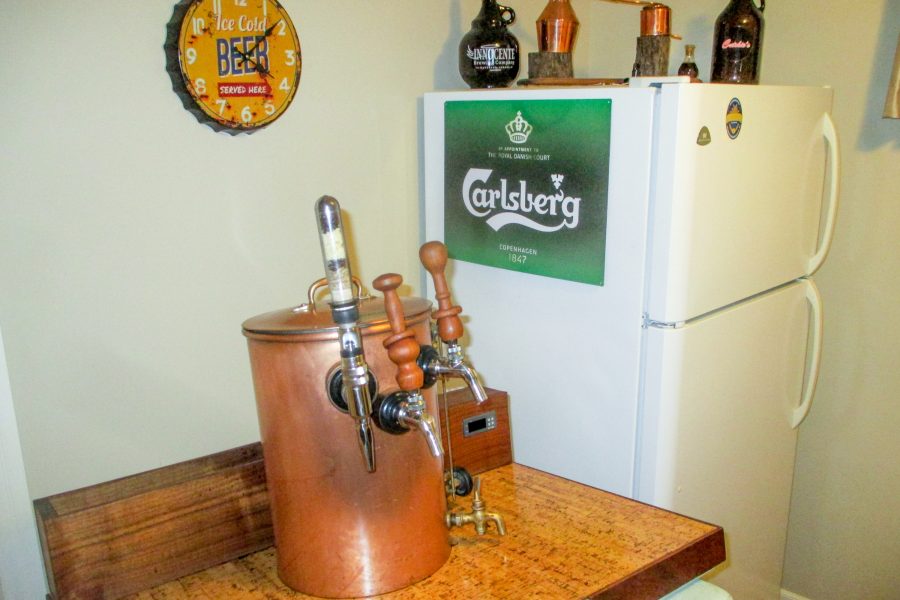
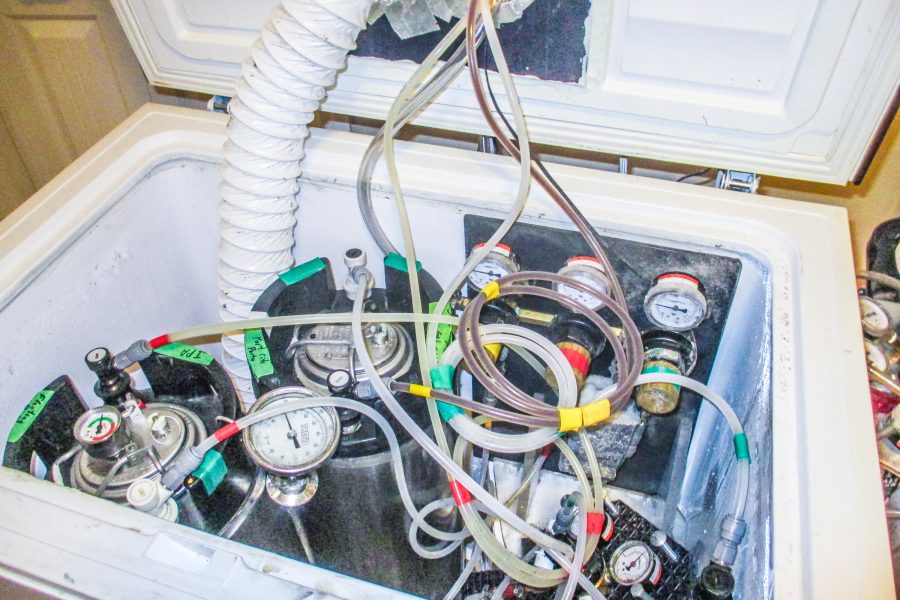
This dual-recipe approach to brew day keeps his 22 kegs full, along with cases of bottles conditioning in the fruit cellar.
Keeping the Beer Pipeline Flowing
Norm has a brewing season and off-season, but it is a year-round process to ensure his homebrew well doesn’t run dry.
In the off-season, Norm ensures all his equipment is in tip-top shape and ready to be used once the Canadian winter starts retreating. Mash tuns and kettles are broken down, thoroughly cleaned, and sanitized; kegs have their rubber seals replaced; the plate chiller is flushed and stored wet.
The list of tasks is impressive and would be a daunting level of attention for some. But this level of care keeps Norm on top of his game and excited about homebrewing.
As brew season approaches in March, the attention shifts to ingredient supplies. After inventorying all the ingredients left from the previous season, Norm starts planning nearly all the recipes he’ll be brewing the following year. Using BeerSmith, he knows what he will need for malt, hops, and yeast.
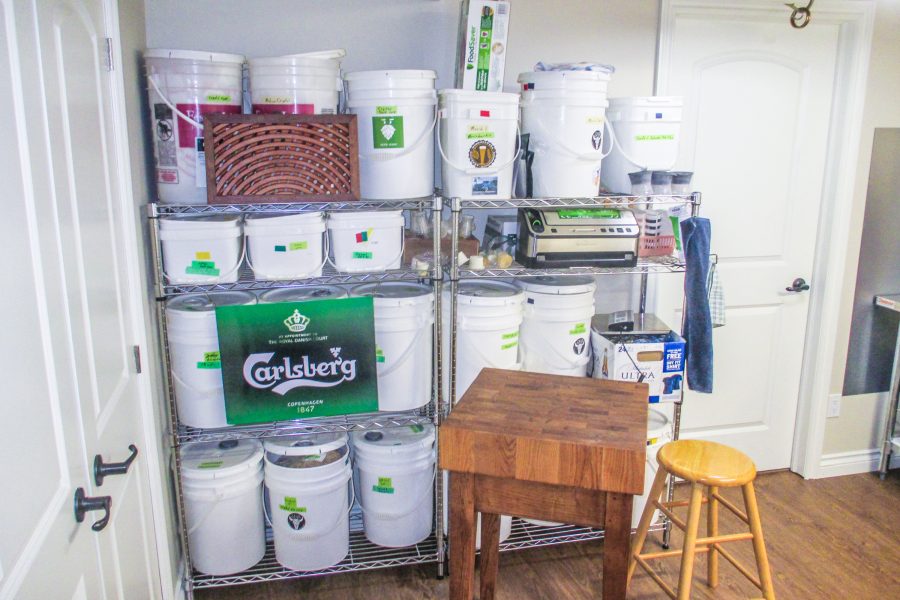
“I store my hops in an upright designated freezer with the 21 hop varieties organized alphabetically. The 36 different malts (1,550 pounds) each have a chart taped on the outside of the lid with the starting weight,” Ryder shares of his near-homebrew shop level of ingredient inventory.
“I buy bricks (500g) of yeast and weigh out five- and ten-gallon portions in ziplock bags,” says Ryder, who primarily ferments with SafAle US-05 and SafLager W-34/70.
“This procedure allows me to start each year ready to go,” Ryder shares proudly.
Norm’s Kolsch Recipe
We asked Norm to share one of his tried-and-true recipes that he enjoys homebrewing. “The neighbors keep clambering for it! Everyone just loves it, especially in Kolsch glasses.”
Recipe Details
- Volume: 11 gallons (41.6 L)
- Efficiency: 82%
- Original Gravity: 1.048
- Final Gravity: 1.008
- ABV: 4.8%
- IBU: 13.4
- SRM: 4.7
Ingredients
- Malts
- 13.5 lb. (6.1 kg) 2-row malt
- 2 lb. (0.9 kg) White Wheat malt
- 1 lb. (0.4 kg) CaraPils, Dextrine, or Carafoam
- 1 lb. (0.4 kg) Wheat flakes, lightly toasted (do not mill)
- 0.5 lb (0.2 kg) Honey malt
- Hops
- 0.75 oz. (21 g) Hallertauer hops, 5% a.a. @ 60 min
- 0.75 oz. (21 g) Hallertauer hops, 5% a.a. @ 20 min
- 0.75 oz. (21 g) Hallertauer hops, 5% a.a. @ 10 min
- Yeast
- SafLager W-34/70 or SafAle US-05 (I use both with almost identical results)
- ½ tsp. Yeast Energize @ 15 min
- Misc
- 3 hand fulls of rice hulls (in mash tun)
- 1 Whirlfloc tablet @ 15 min
Directions
Mash at 154°F (68°C) for 70 minutes. Adding in the rice hulls can help prevent a stuck mash.
Conduct a 70-minute boil, following the kettle addition timings as listed in the ingredients.
Ferment at 64°F (18°C) for four days. Increase the temperature 1 degree per day until you hit 68°F (20°C). Hold for one day and then set the fermentation chamber temperature to 64°F (18°C). Wait ten days if using US-05 and 14 if you are using 34/70. The lager yeast just takes longer! Let it shine!!
I use pure oxygen before I add yeast with the regulator set at 0.5 flow rate for 1 minute.
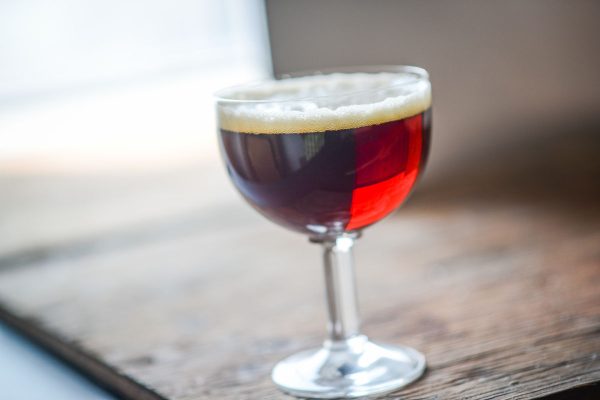
This beer is so tasty you need to just keep brewing it! Pour into a Kolsch glass and enjoy! Prost!


Share Post