Cider is simply fermented apple juice, and it’s easy to make at home. This tutorial covers the easiest way to make cider at home. From this base, the sky is the limit for ingredient additions!

Review
Read through your cider recipe and review the following cidermaking steps entirely before starting.Don’t have a cider recipe yet? Find one in our Homebrew Recipes archive.

Gather Supplies
Ensure you have all the equipment and ingredients needed to make cider.
You will need the following equipment:
- Primary Fermenter
- Secondary Fermenter
- Airlock
- Spoon
- Thermometer
- Hydrometer
- Siphon/tubing
- Bottling/kegging equipment

Clean equipment
Using an unscented cleanser, thoroughly clean all equipment. Debris on equipment can harbor microorganisms that can spoil a batch of cider.
Sanitize Equipment
Thoroughly sanitize all equipment and tools that will come into contact with the ingredients. We recommend a no-rinse sanitizer in a spray bottle for quick sanitation.
Add Juice
Fill the clean and sanitized fermenter with the amount of apple juice called for in the recipe.
Take Temperature
Using a clean and sanitized thermometer, measure the temperature of the juice. Ensure it is within the desired temperature range for the yeast being used — typically around 65-75°F (18-24°C).
Gravity Reading
Optional: Before pitching the yeast, pull a sample of the juice and take a gravity reading using a hydrometer (or refractometer). This will establish a starting point for tracking fermentation.
Do not return the sample to the fermenter because it can cause infection.
Never used a hydrometer before? Learn how to take an accurate hydrometer reading.

Pitch Yeast
Once the juice is in the temperature range for the yeast, add the yeast to fermenter. If using dry yeast, follow the manufacturer’s instructions on rehydrating the dry yeast prior to “pitching” (the term used for adding yeast). You may also add yeast nutrients, if the recipe calls for it.
Seal Fermenter
If using a bucket fermenter for primary, tightly secure the lid. If using a carboy jug, use the appropriate sized bung. Fill and airlock with no-rinse sanitizer or high-gravity alcohol and place it on the bucket lid or bung.
Aerate
Shake the fermenter to help introduce oxygen that the yeast need to help get going on the fermentation process. Shake vigorously for a few minutes. After the initial aeration, it is crucial that you prevent the fermenting cider from splashing/aerating because this can cause oxidation, which can instill off flavors.
Store Fermenter
With the yeast pitched and the primary fermenter sealed, place the fermenter in a location where the temperature will be in the target fermentation range. Avoid areas with drastic temperature fluctuations.
Transfer to Secondary
After 2-4 weeks, the bubbling in the airlock should slow down or cease completely and fermentation should be about complete. At this point, the cider can be transferred off the yeast into a secondary where it can age for a longer period of time. Transfer the cider to a clean and sanitized secondary fermenter using clean and sanitized siphon equipment. Leave as little empty space in the fermenter as possible ro reduce the presence of oxygen. Note: you can also skip straight to bottling or kegging if you choose. If bottling, ensure fermentation is totally complete by observing consistent hydrometer readings over the course of a few days.
Age
While in secondary, the cider can finish up fermenting any sugar that may be left, as well as bulk age to allow it’s character to develop and mature. During this period, you should see the cider start to clear. Depending on your goals and recipe, a cider can be aged anywhere from a few weeks to months.
Package
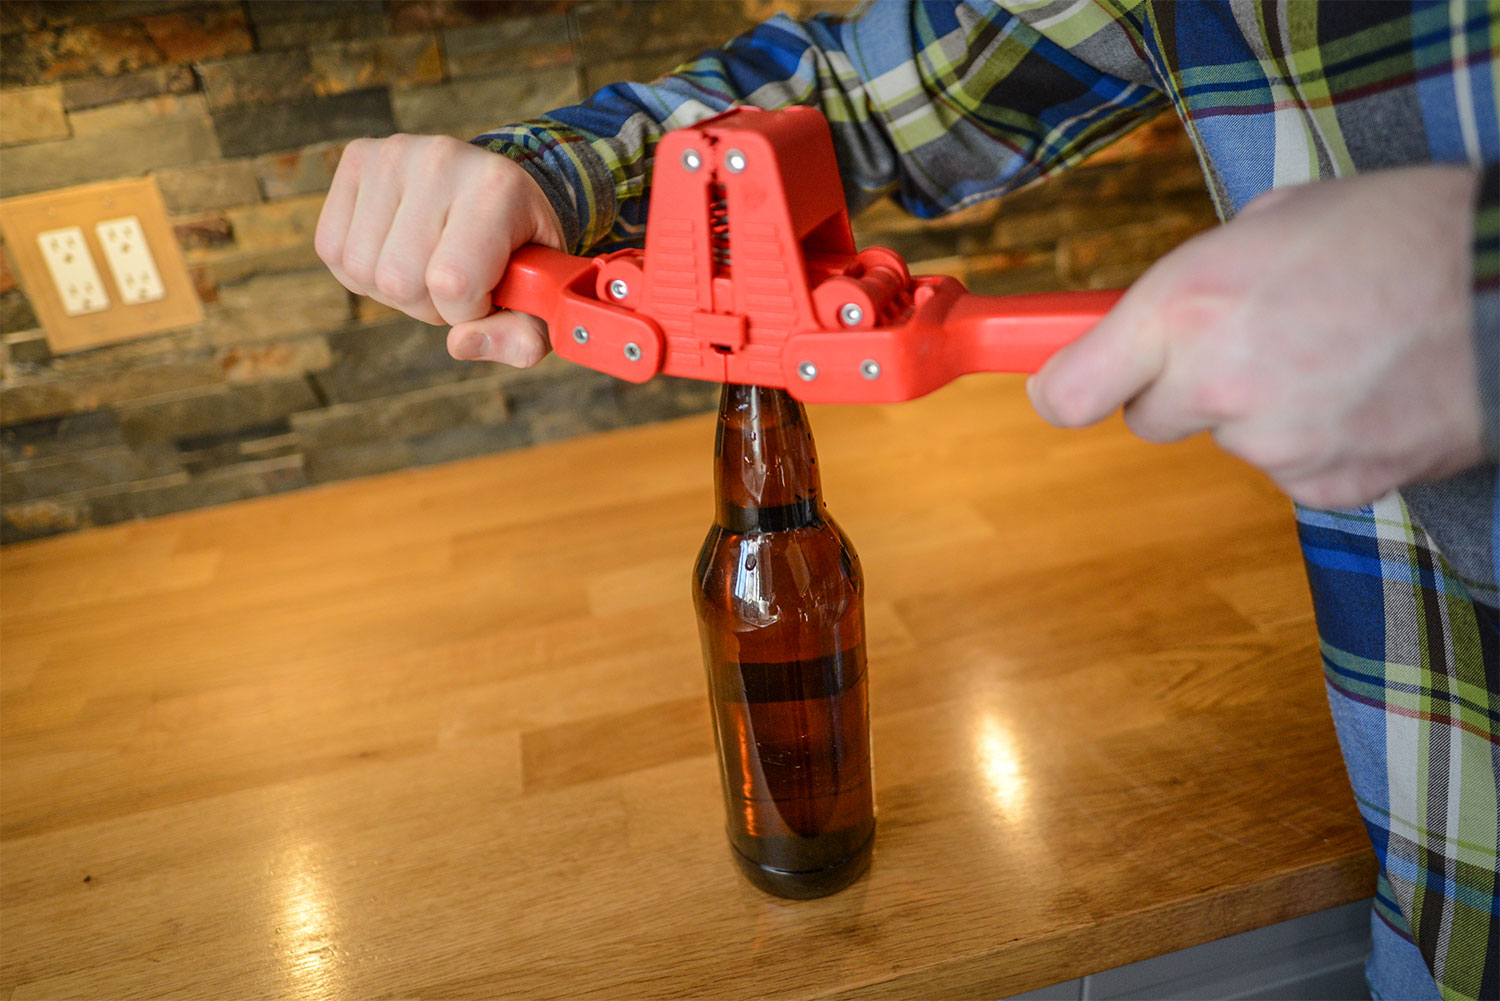
After fermentation has completed and the cider has cleareded, it’s time to package. The best way to ensure fermentation is complete is by taking hydrometer readings and ensuring the gravity isn’t continuing to drop (a sign of fermentation). Cider can be packaged in bottles or kegs, just like beer, so we will leave it up to you. See our guide on kegging and the bottling tutorial video for more information.
Enjoy
After a few weeks in a bottles or a few days in kegs, it’s time to taste your cider! While you’re enjoying the fermented fruits of your labor, start planning your next cider by browsing through our collection of cider recipes.PHOTOS © BREWERS ASSOCIATION

Share Post